How To: Make Homemade Venison Bratwurst
This article was originally published to Browning Trail Cameras Blog and has been re-posted here with the author's permission
Making bratwursts or summer sausage is an easy way to use the meat from a whole deer, especially a large or older buck or doe that will likely be tough. Below are step-by-step instructions to making your own homemade venison brats.
What You’ll Need
· Meat from whole deer (20-25 lbs. deboned meat)
· 5 lbs. pork or beef fat
· 2 lbs. cheese – pepperjack or cheddar
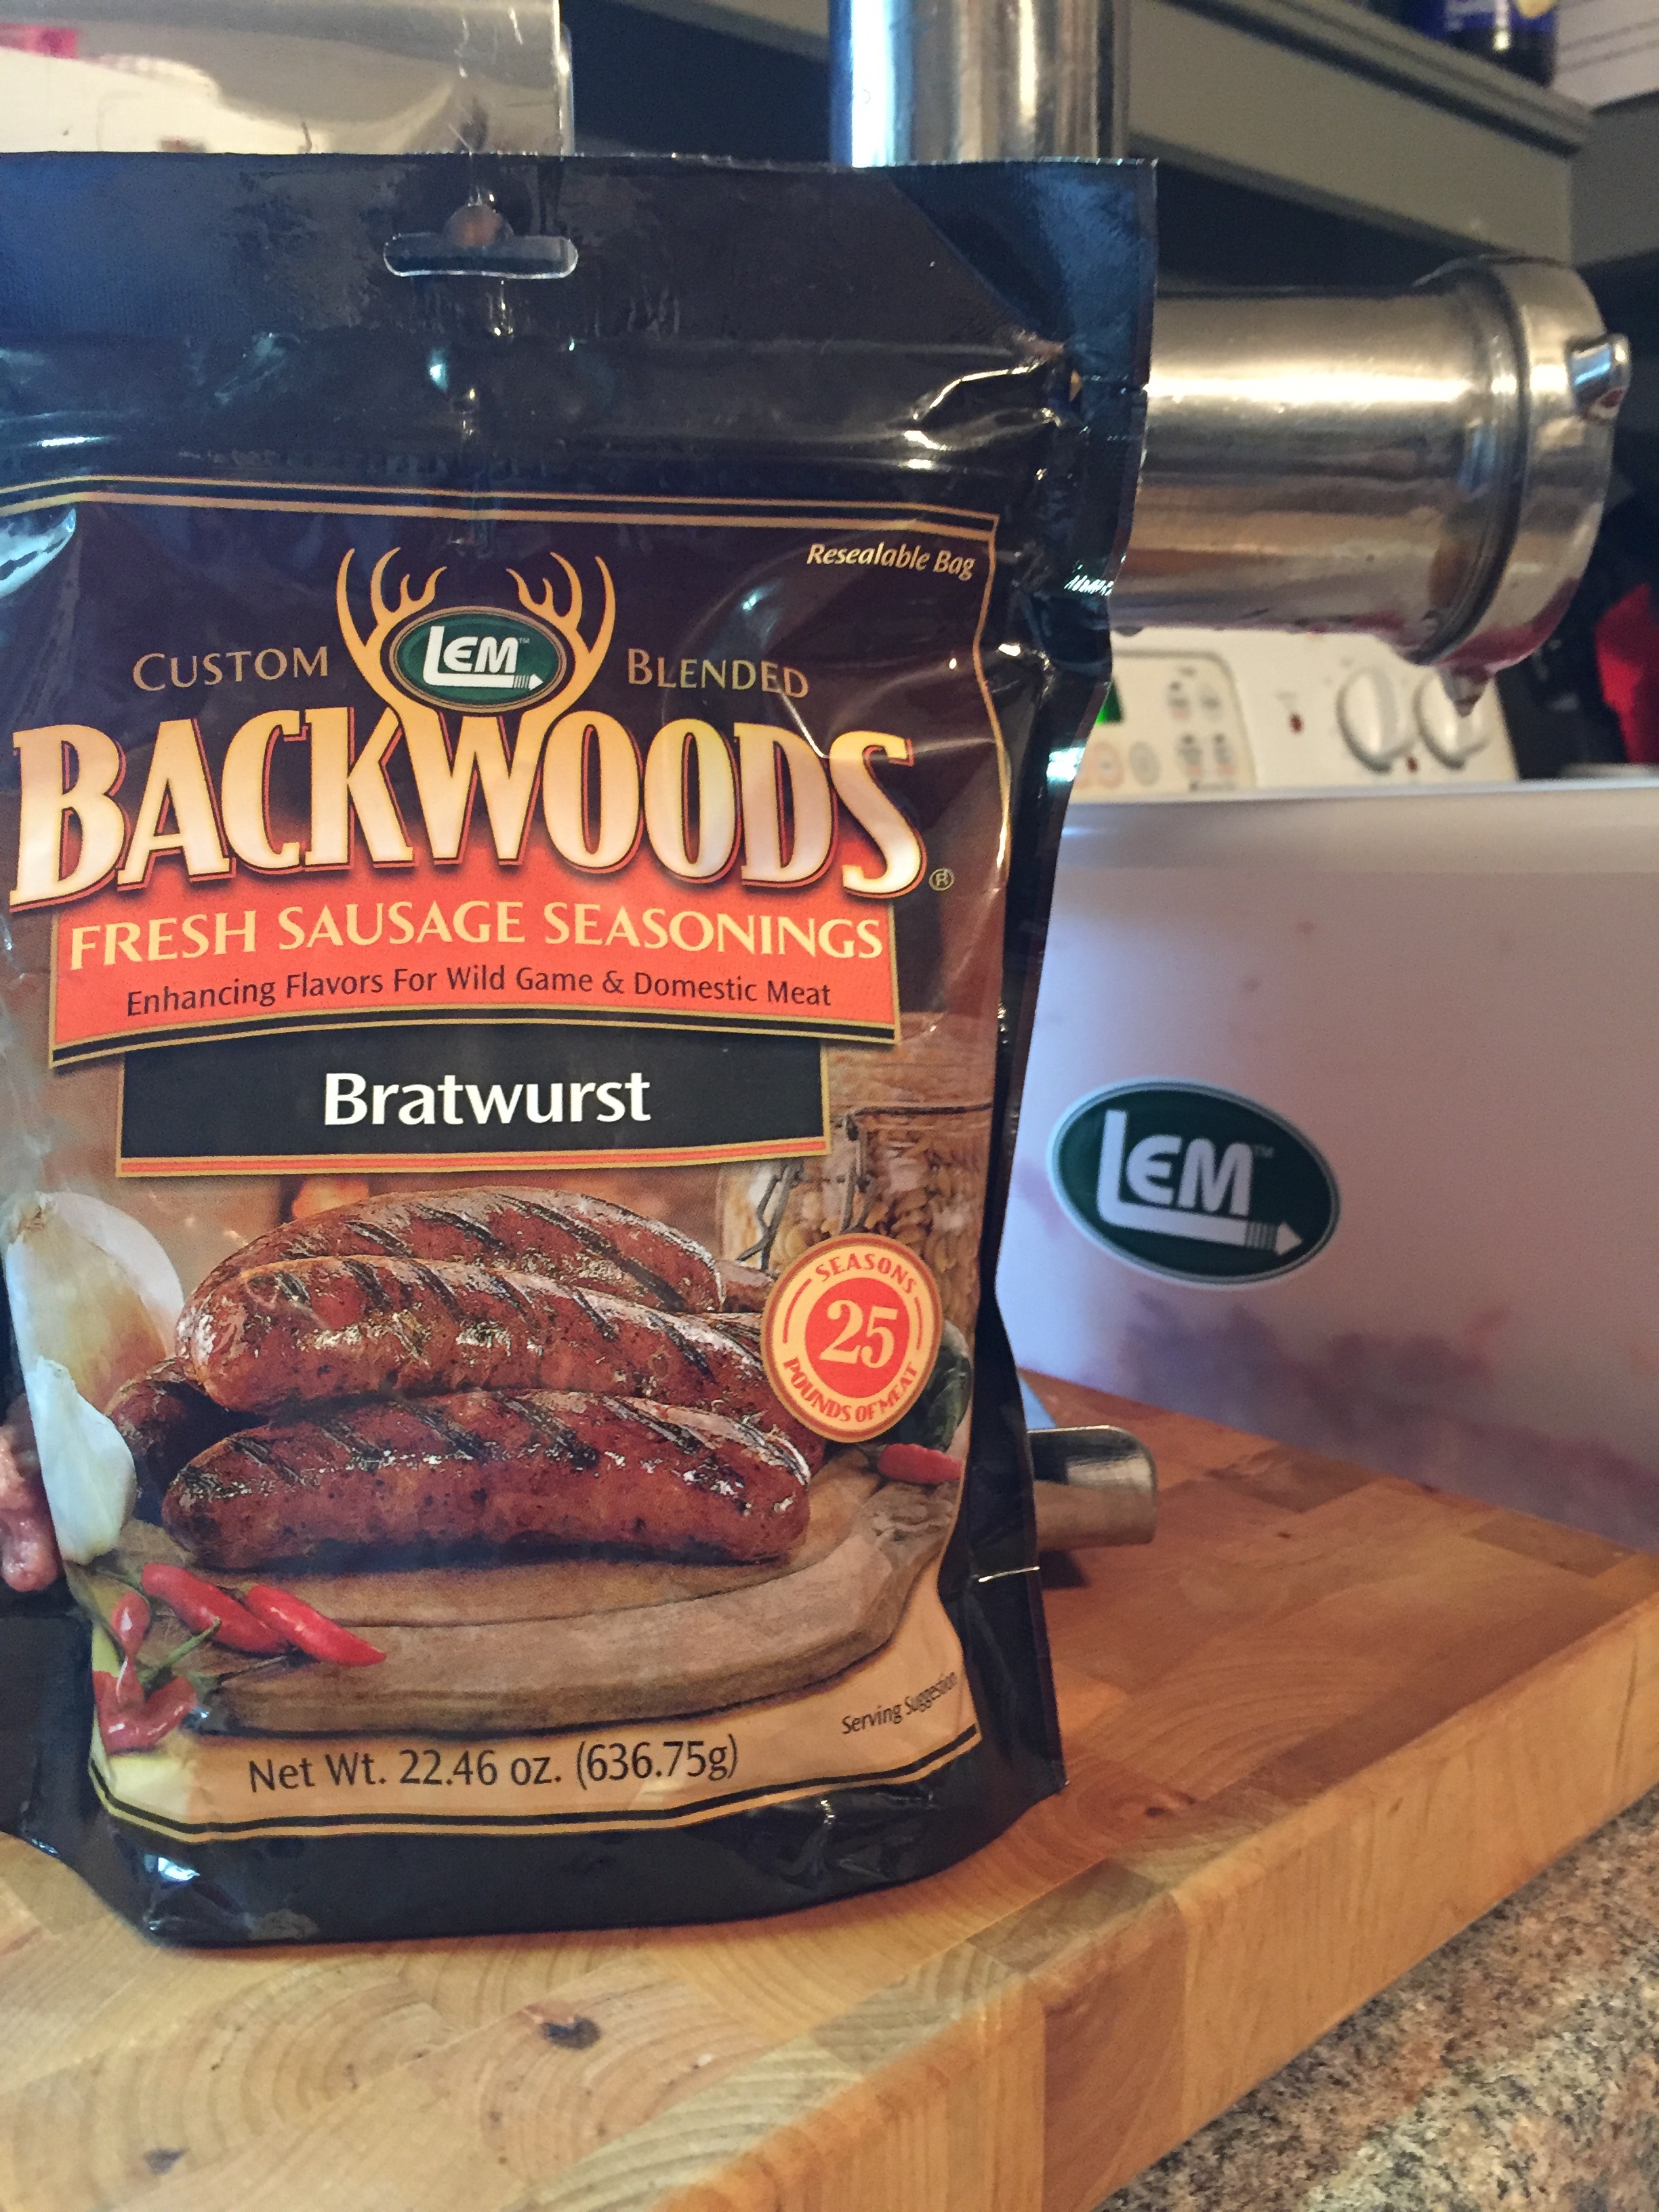
· Lem’s Brat seasoning + water according to package
· Natural casings for 25 lbs. meat
The Process
Step 1: Debone meat
Debone shoulders and hams from a whole deer, removing fat and sinew. Use neck and rib meat if needed, to get a total of 20-25 lbs.

Tips!
· Use cut-resistant gloves when deboning meat for added safety
· Make sure to use a sharp knife, such as the Outdoor Edge Razor-Lite replaceable-blade knife
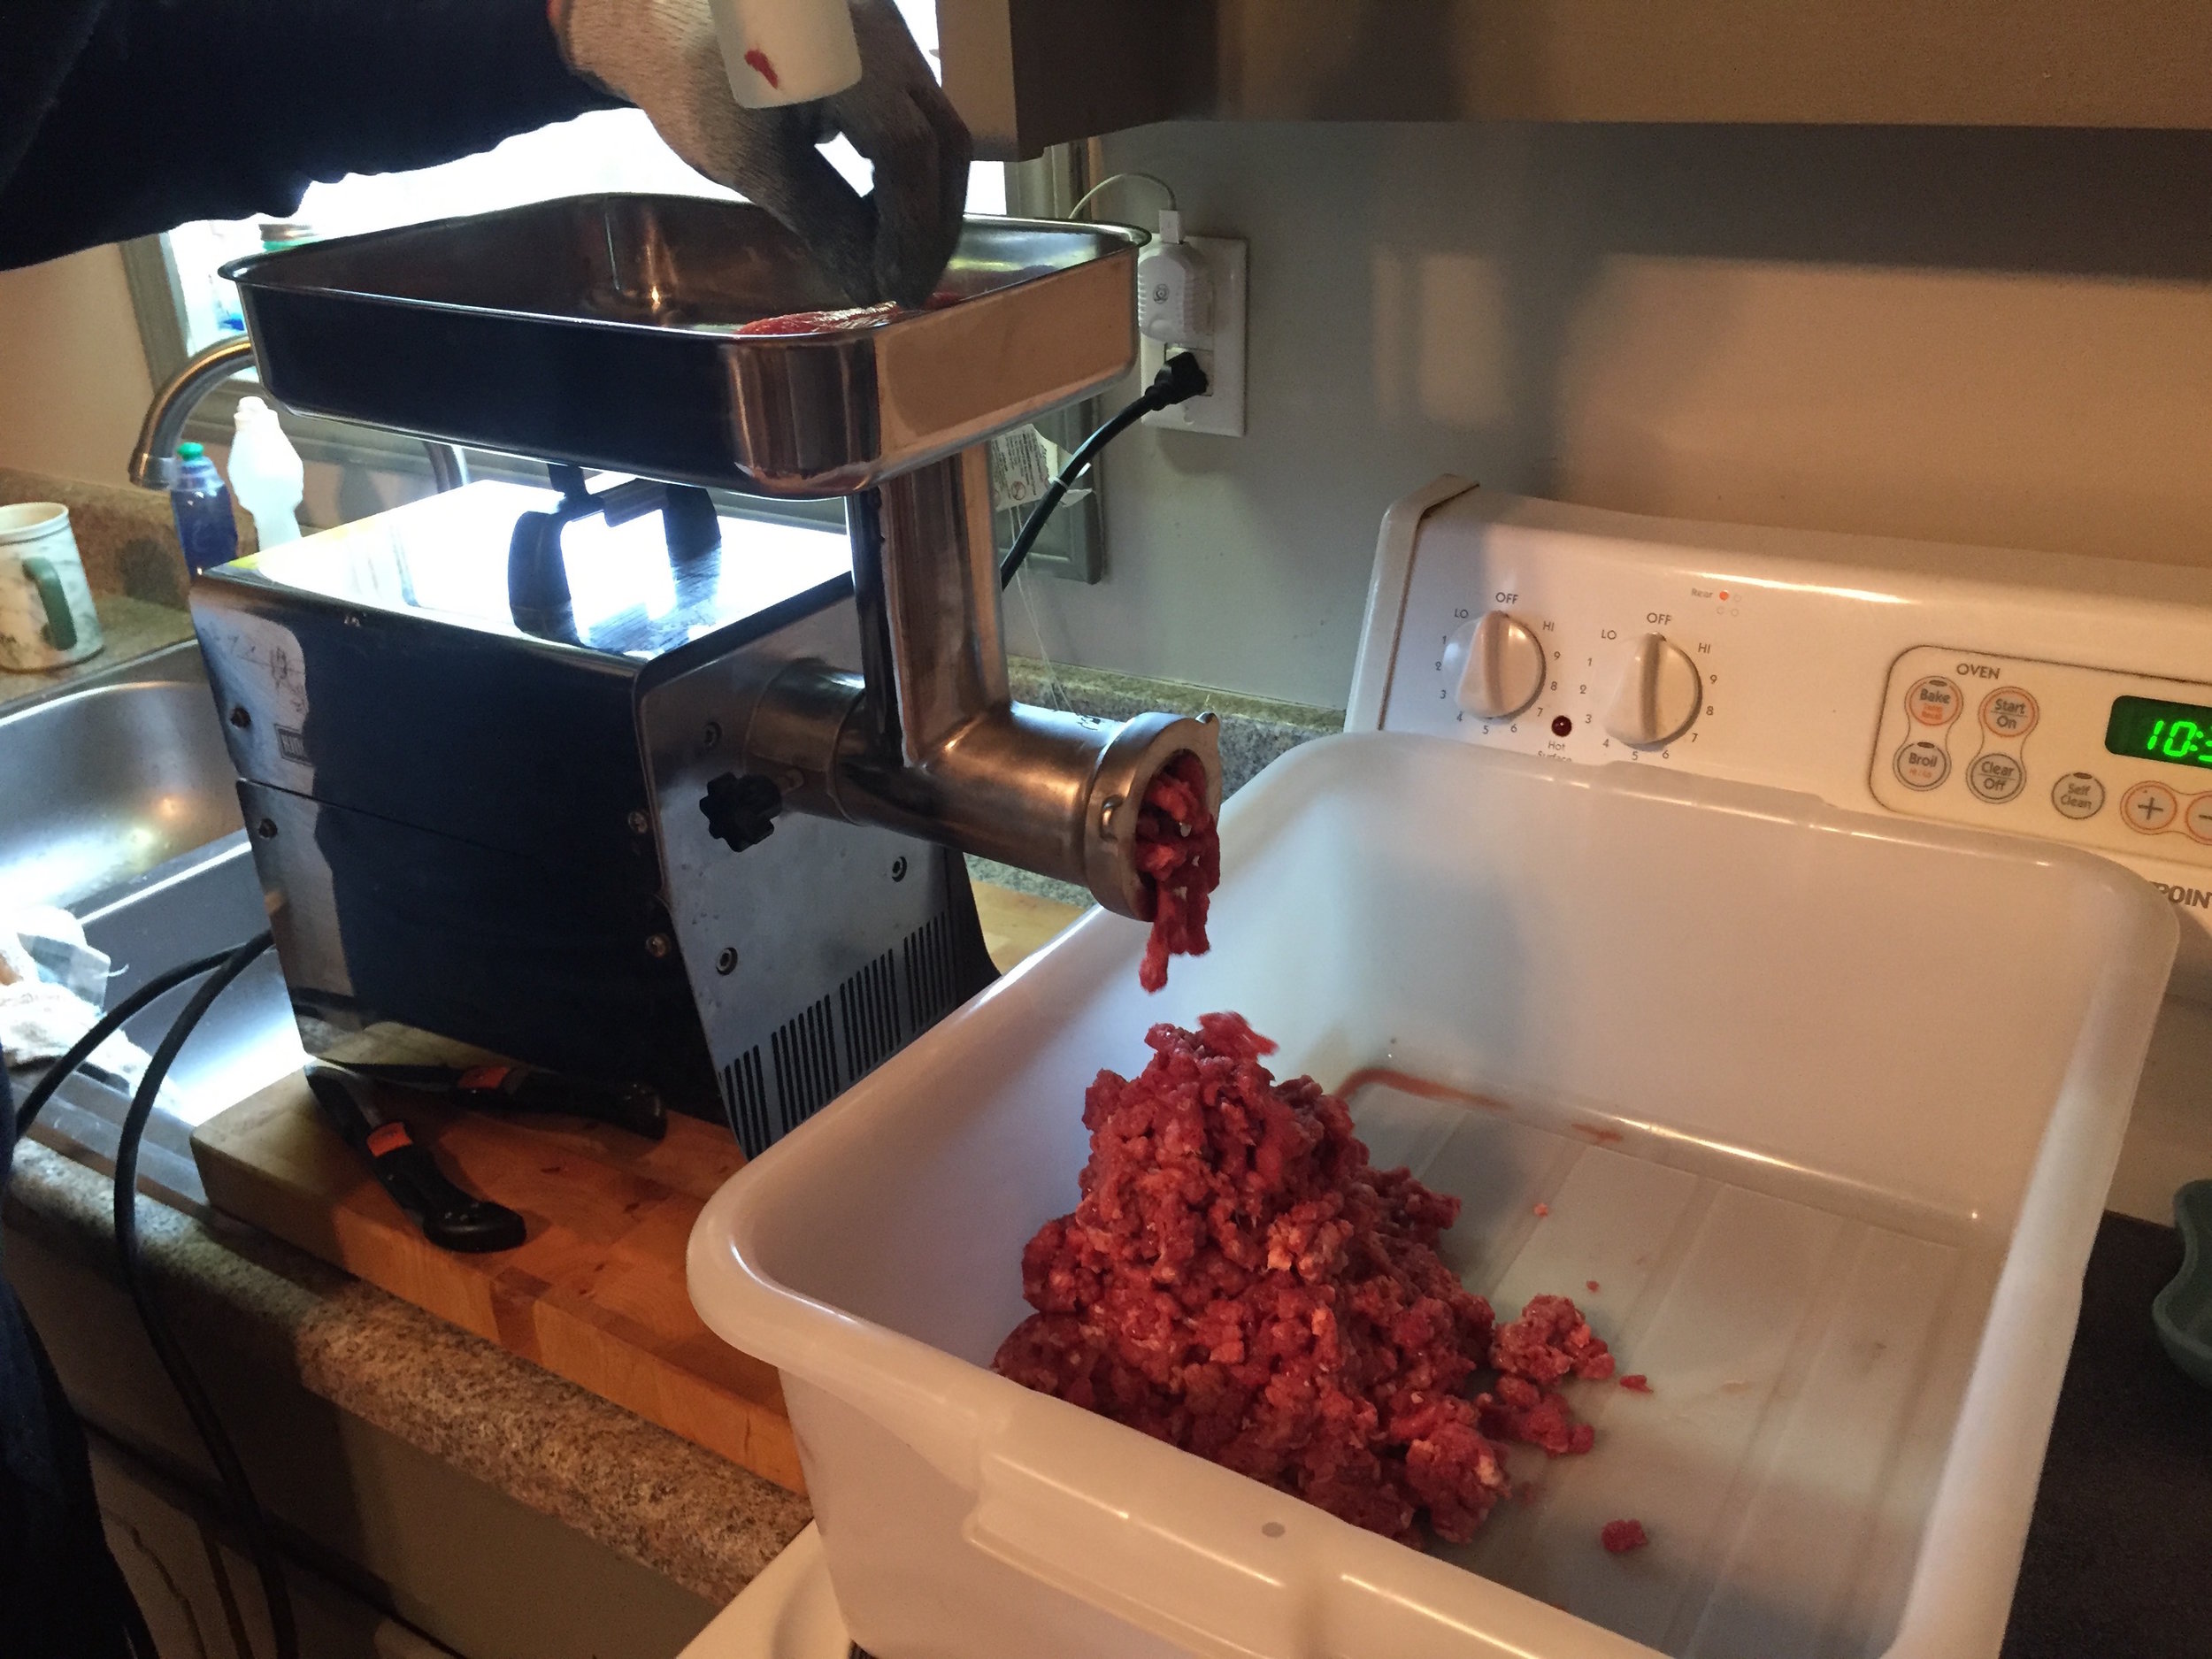
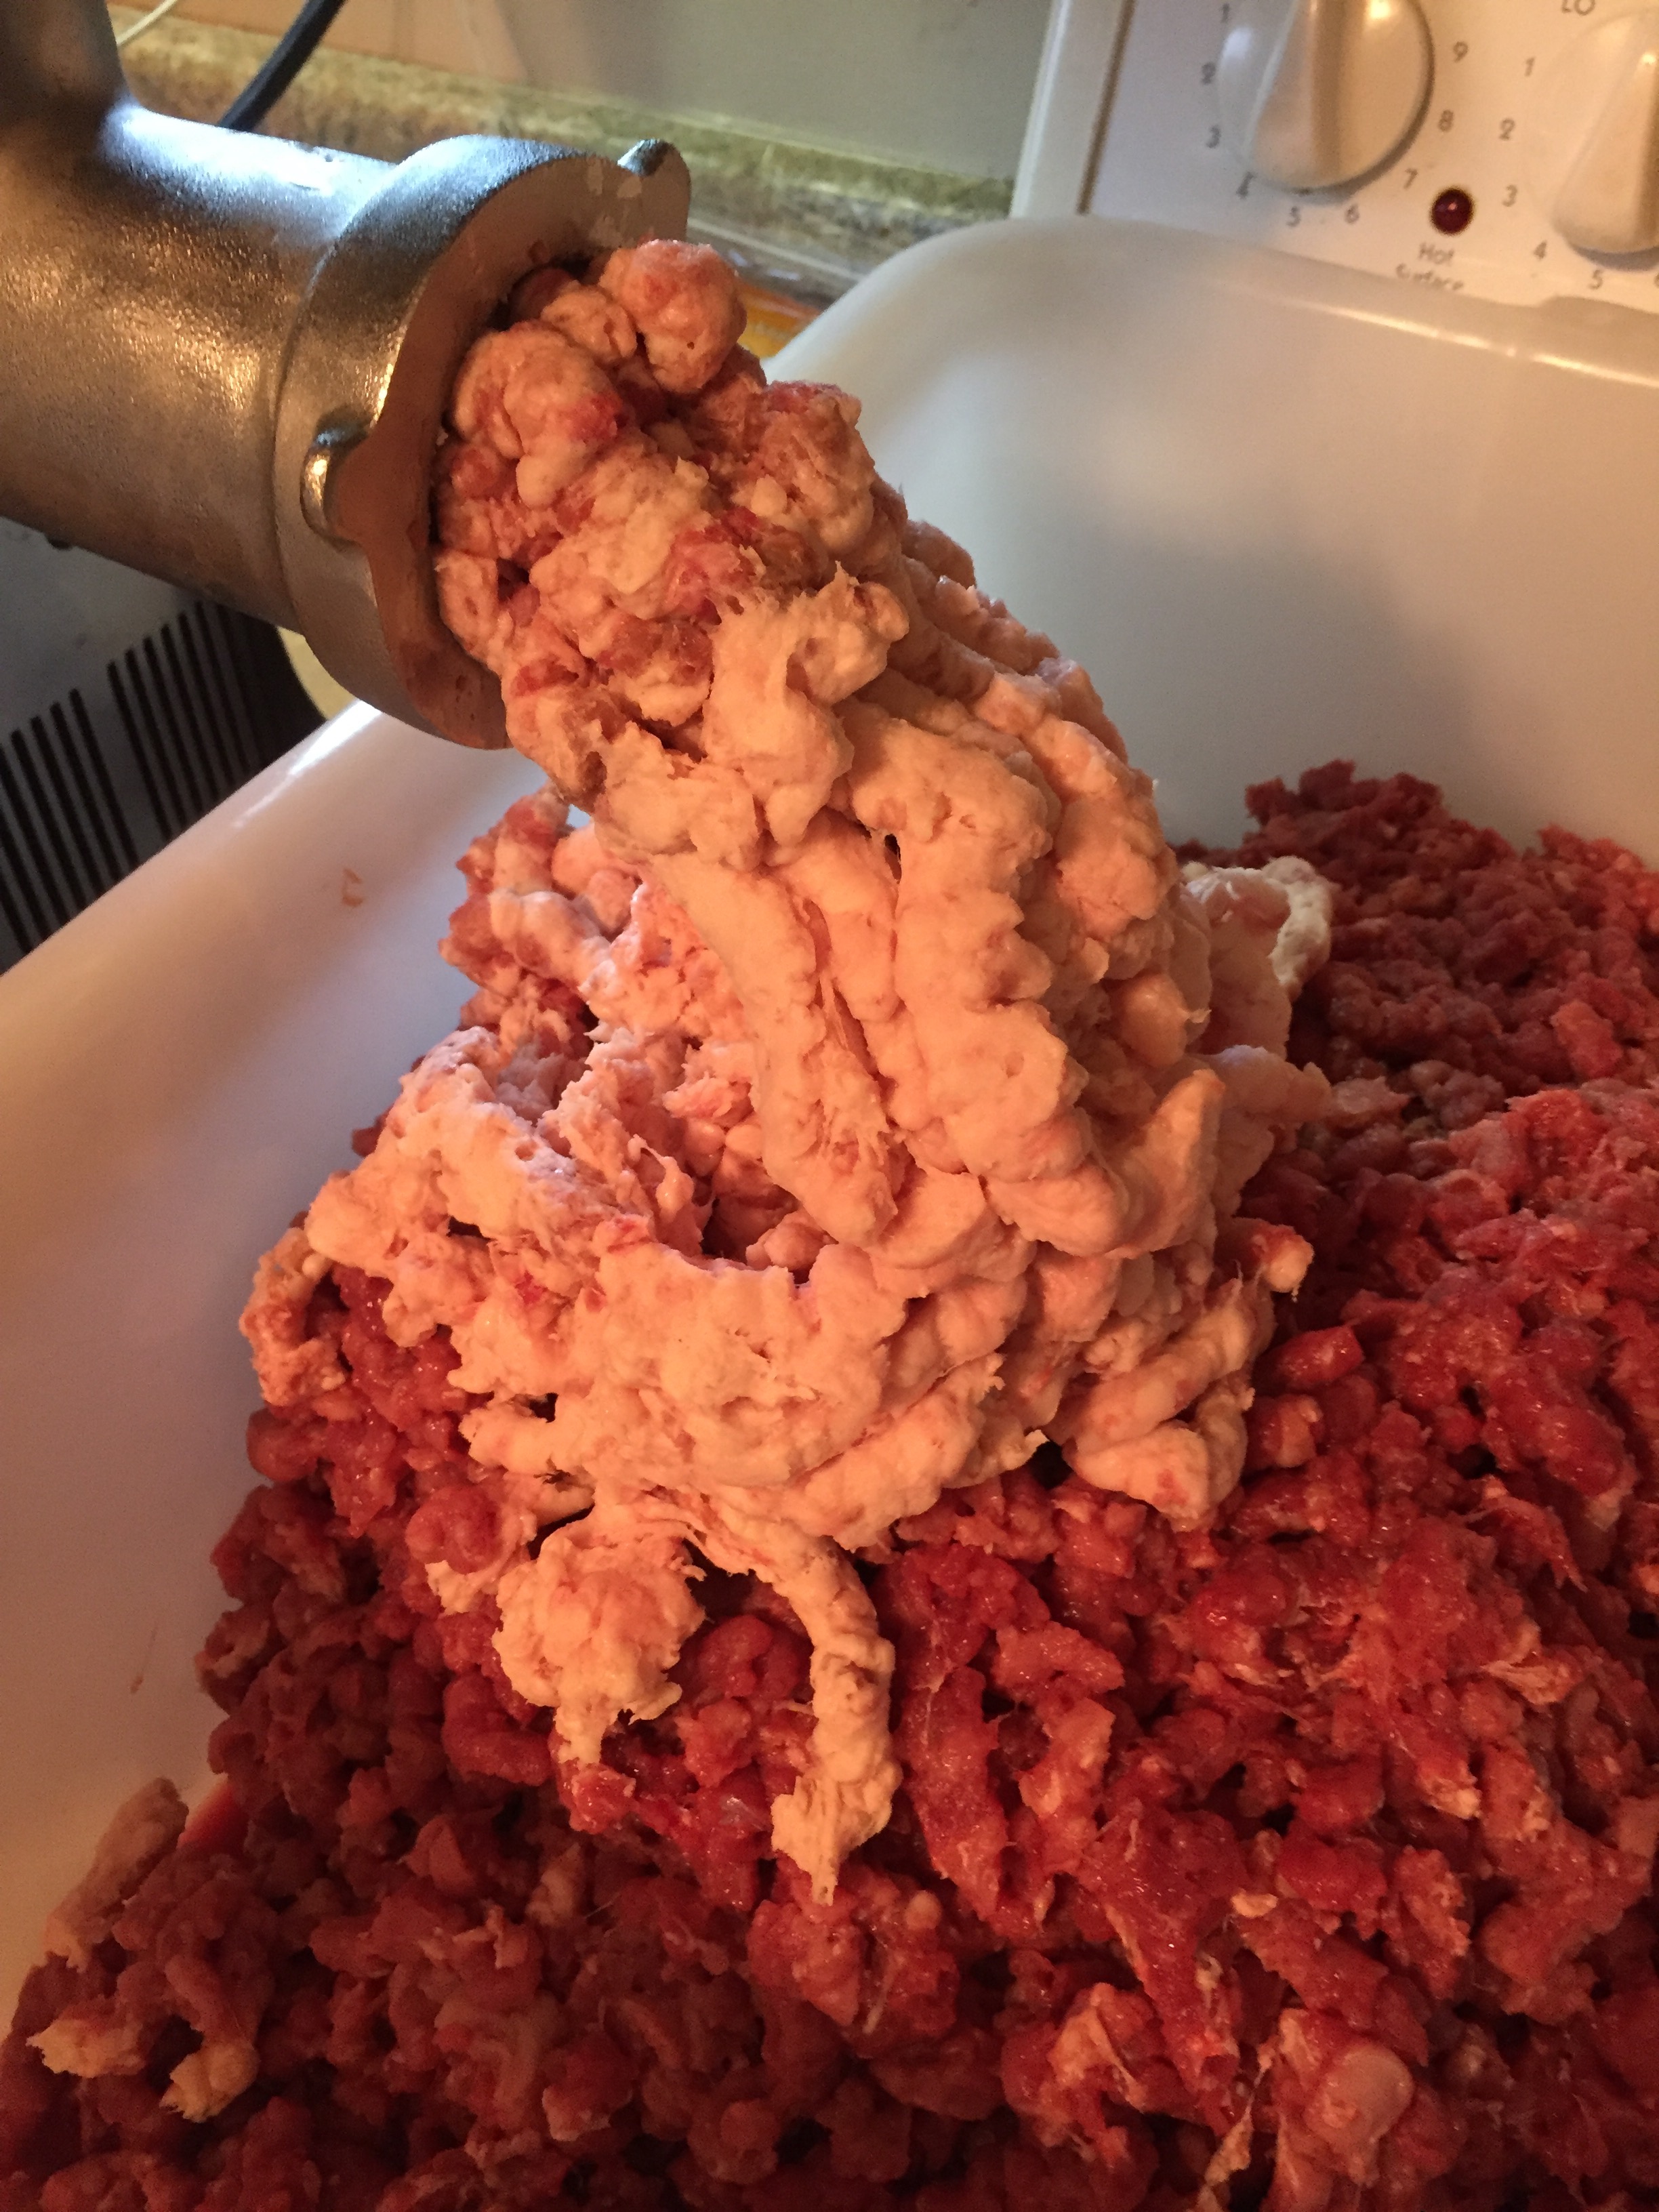
Step 2: Grind
Using an electric grinder, grind all venison into a meat tub or large pot. Grind pork or beef fat separately, and then mix into venison until distributed evenly throughout.
Tips!
· I recommend the Lem #8 meat grinder from Bass Pro Shops. We purchased ours nine years ago, and have ground more than 1,500 lbs. of meat—including 40+ deer, buffalo, hogs and elk. Still works perfectly with no issues.
· There are several ways to obtain pork or beef fat. Ask your local meat store or grocery store if they sell it, or contact a local farmer. We raised a domestic hog and saved the fat once we butchered it. You can also substitute bacon for the fat.
· Before grinding the fat, let it freeze slightly so it makes pellets when ground. If it’s too soft and warm, it will be greasy and melt when grinding.
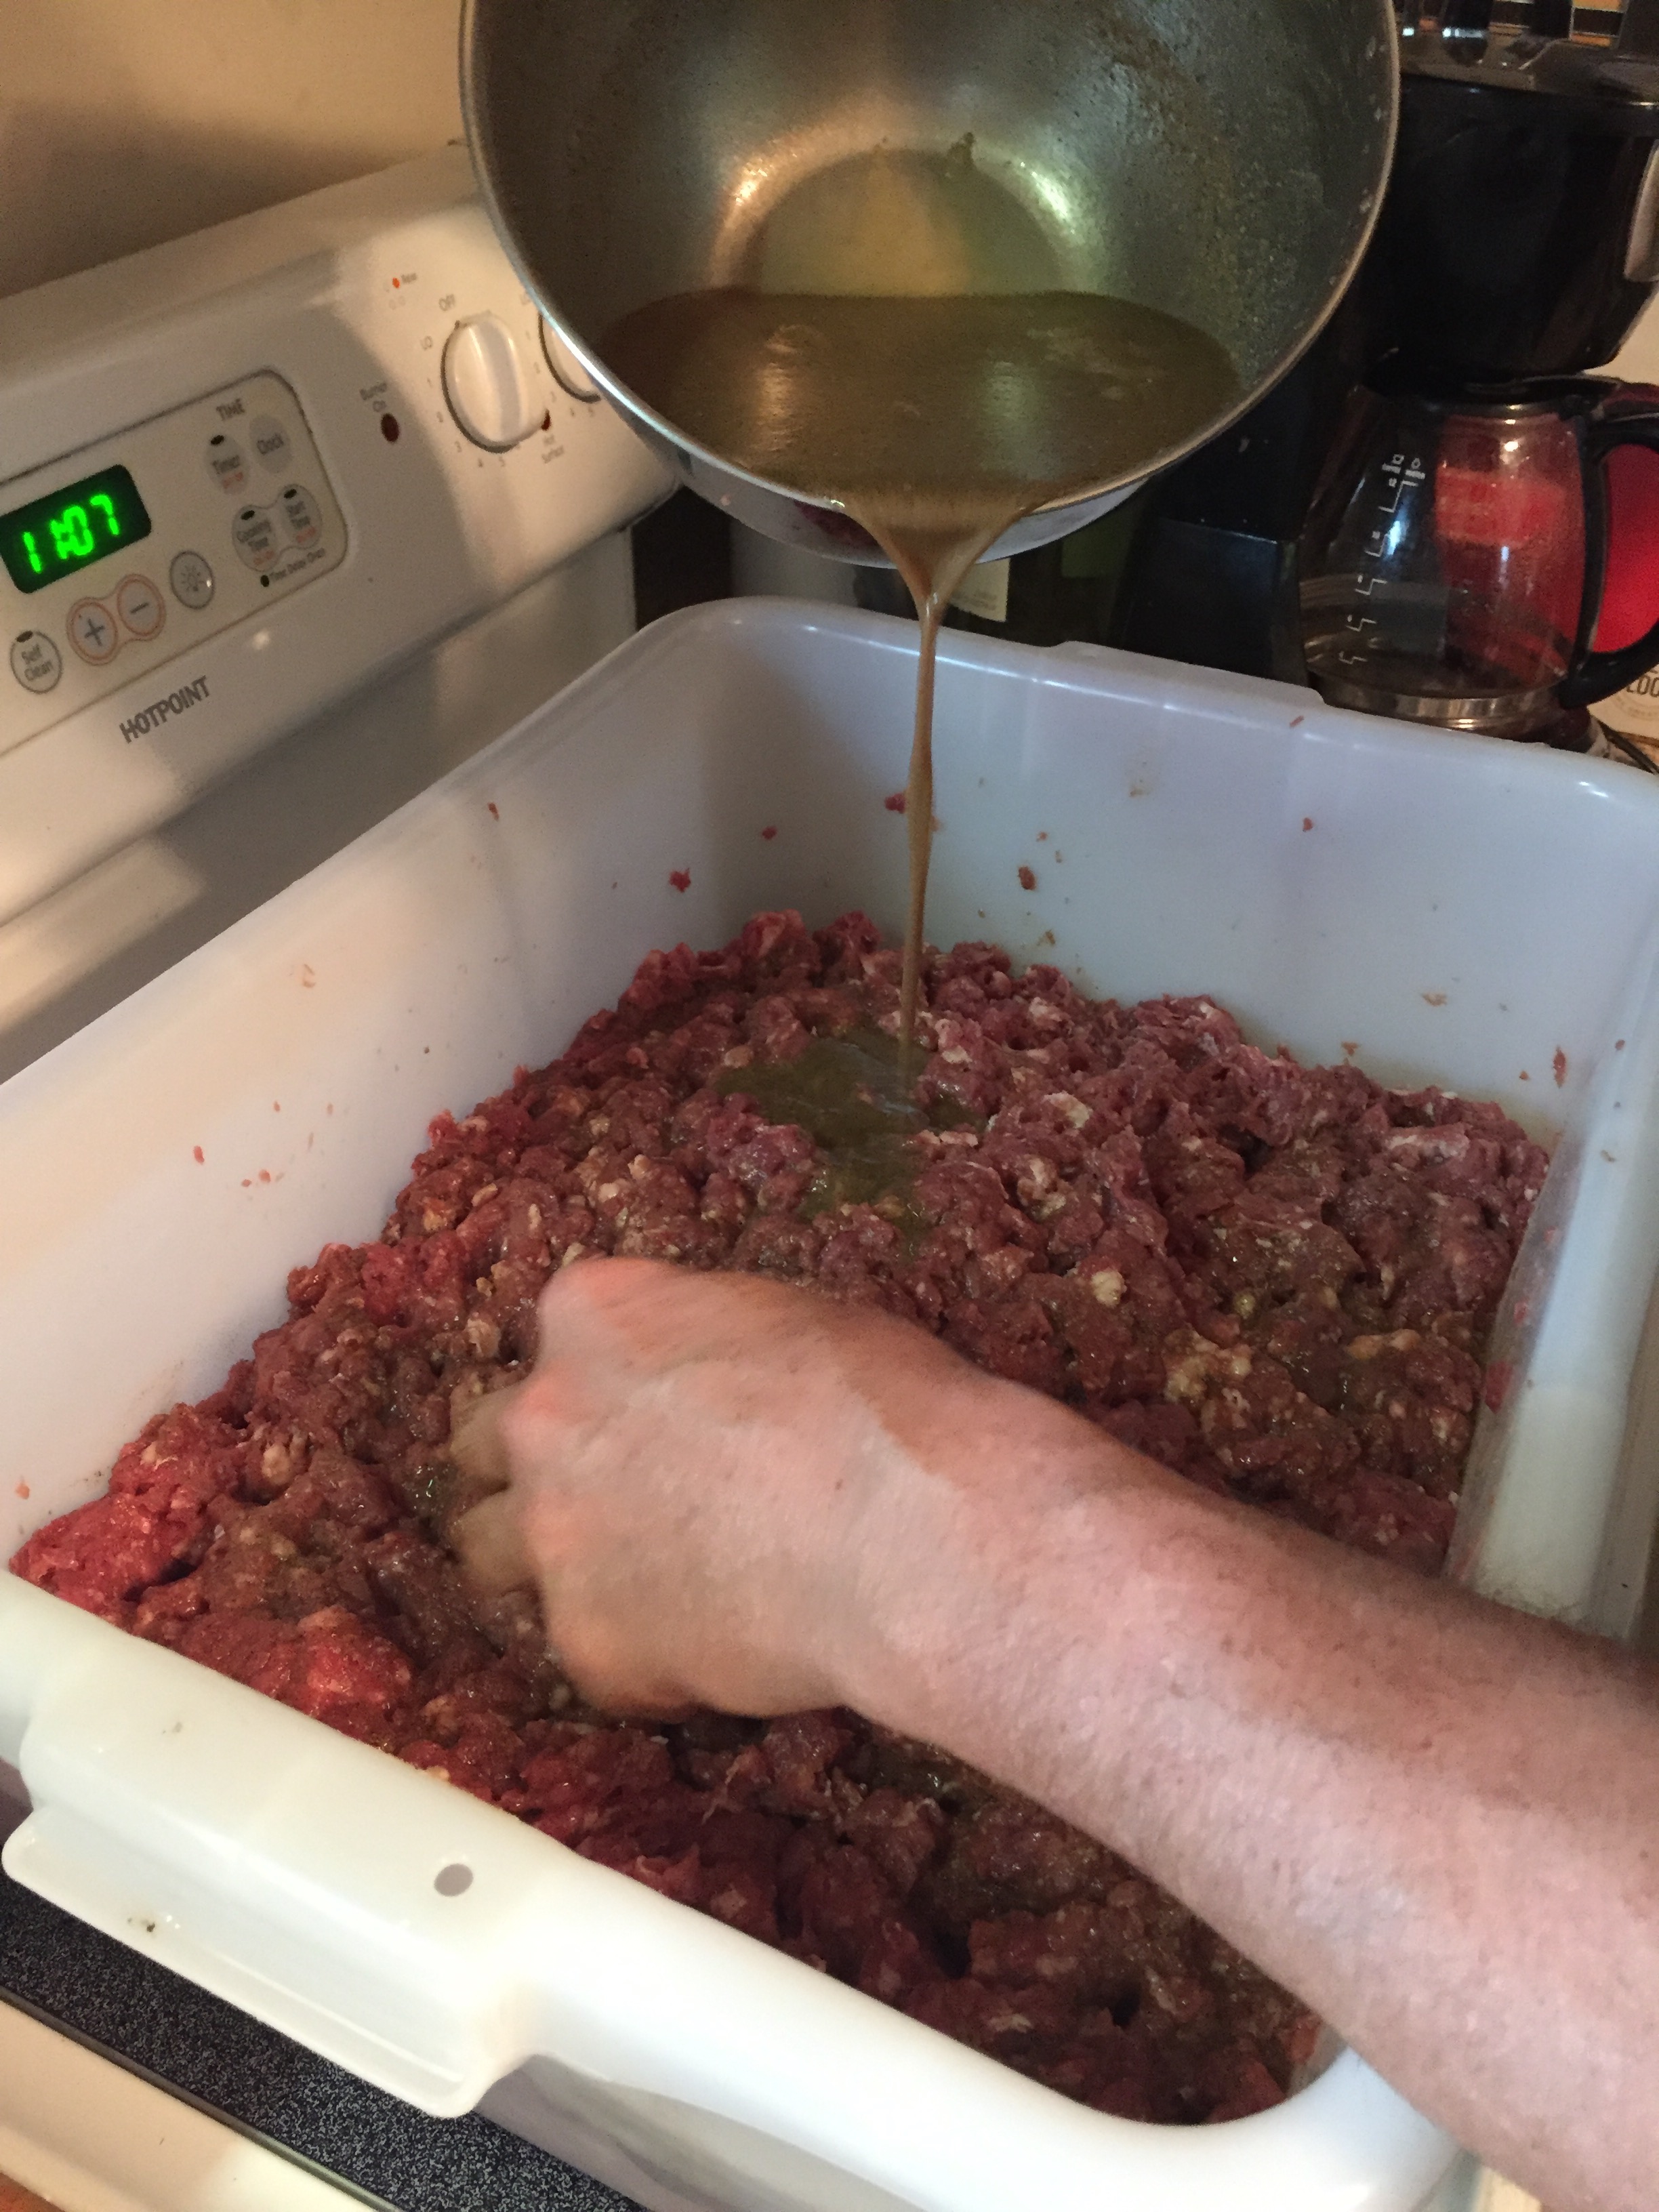
Step 3: Add the Seasoning
Prep seasoning by mixing with cold water, as instructed on package. Add seasoning and water mixture to meat, one cup at a time, mixing thoroughly after each cup. Keep meat mixture in meat tub and refrigerate overnight.
Step 4: Prep Casings
Prep casings by rinsing with warm water to remove cure and salt. Refrigerate in water overnight.

Step 5: Add Cheese to Meat
Cut cheese into ¼” cubes and mix thoroughly into meat.

Tips!
· Use any kind of cheese preferred. Pepperjack adds a little more spice and melts better when cooked. Cheddar stays in larger chunks when the brats are cooked.
· During this step, you can also add chopped peppers, such as jalapenos or habaneros, if you like spicier foods.
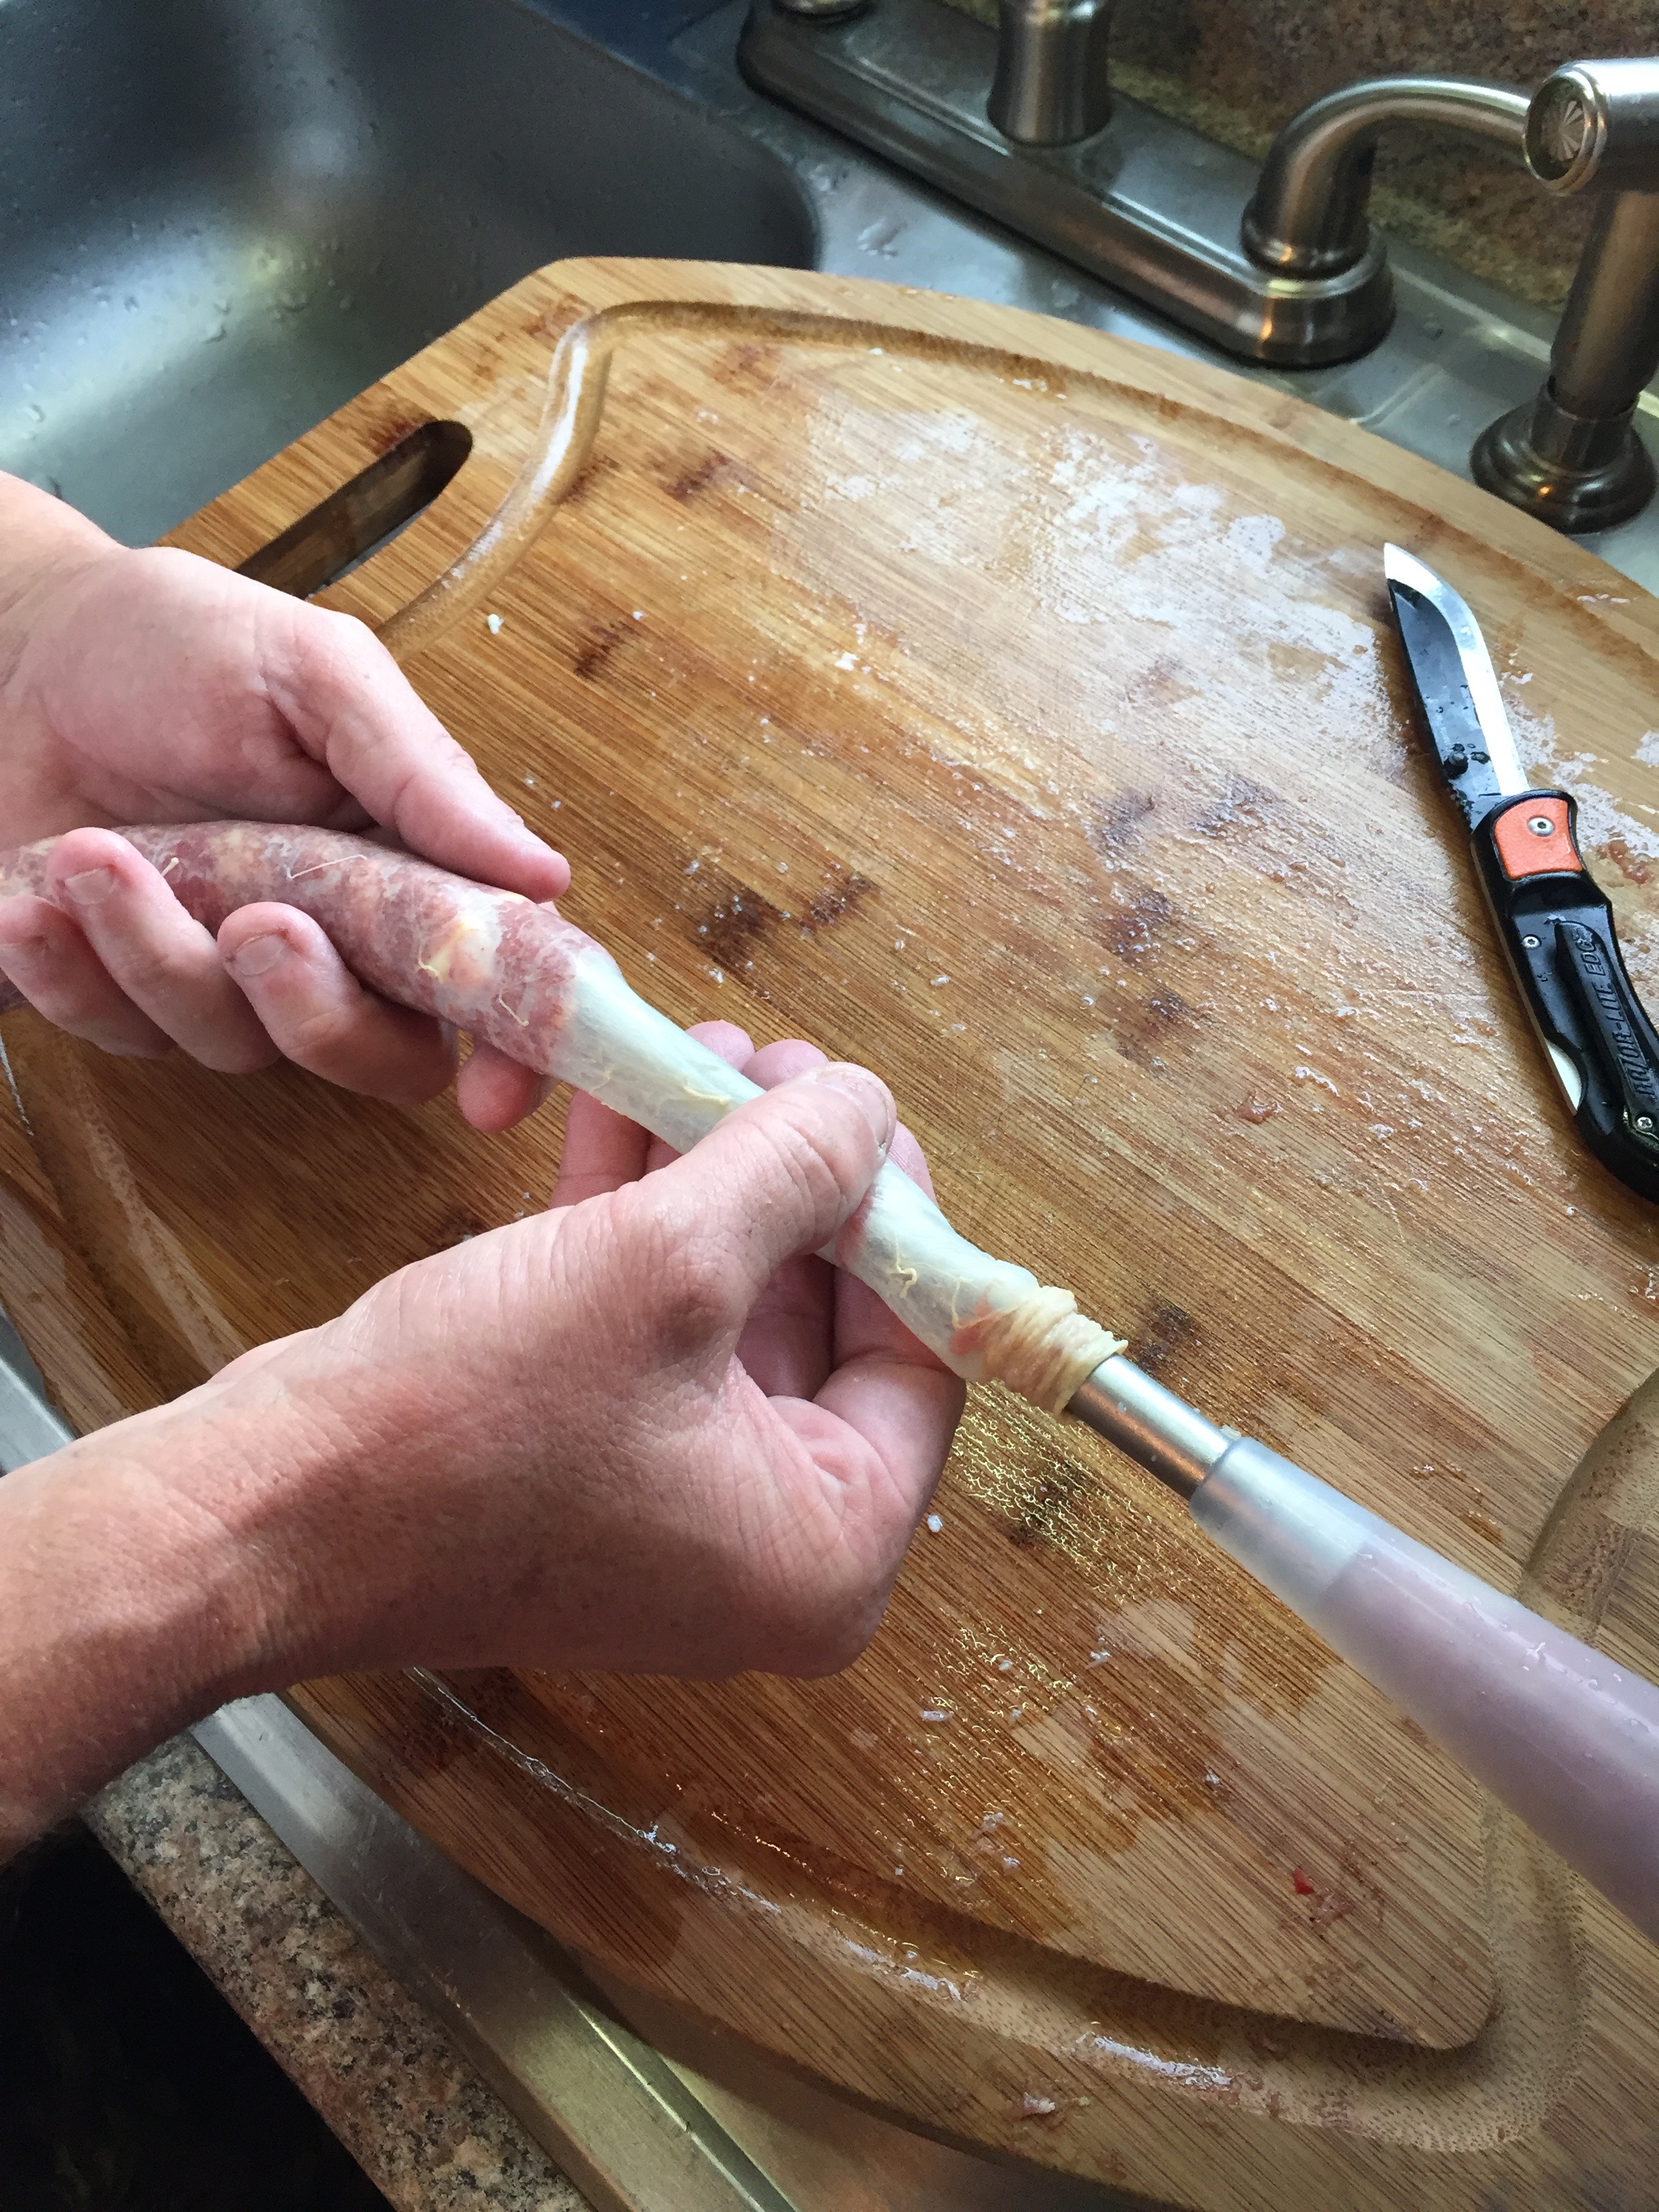
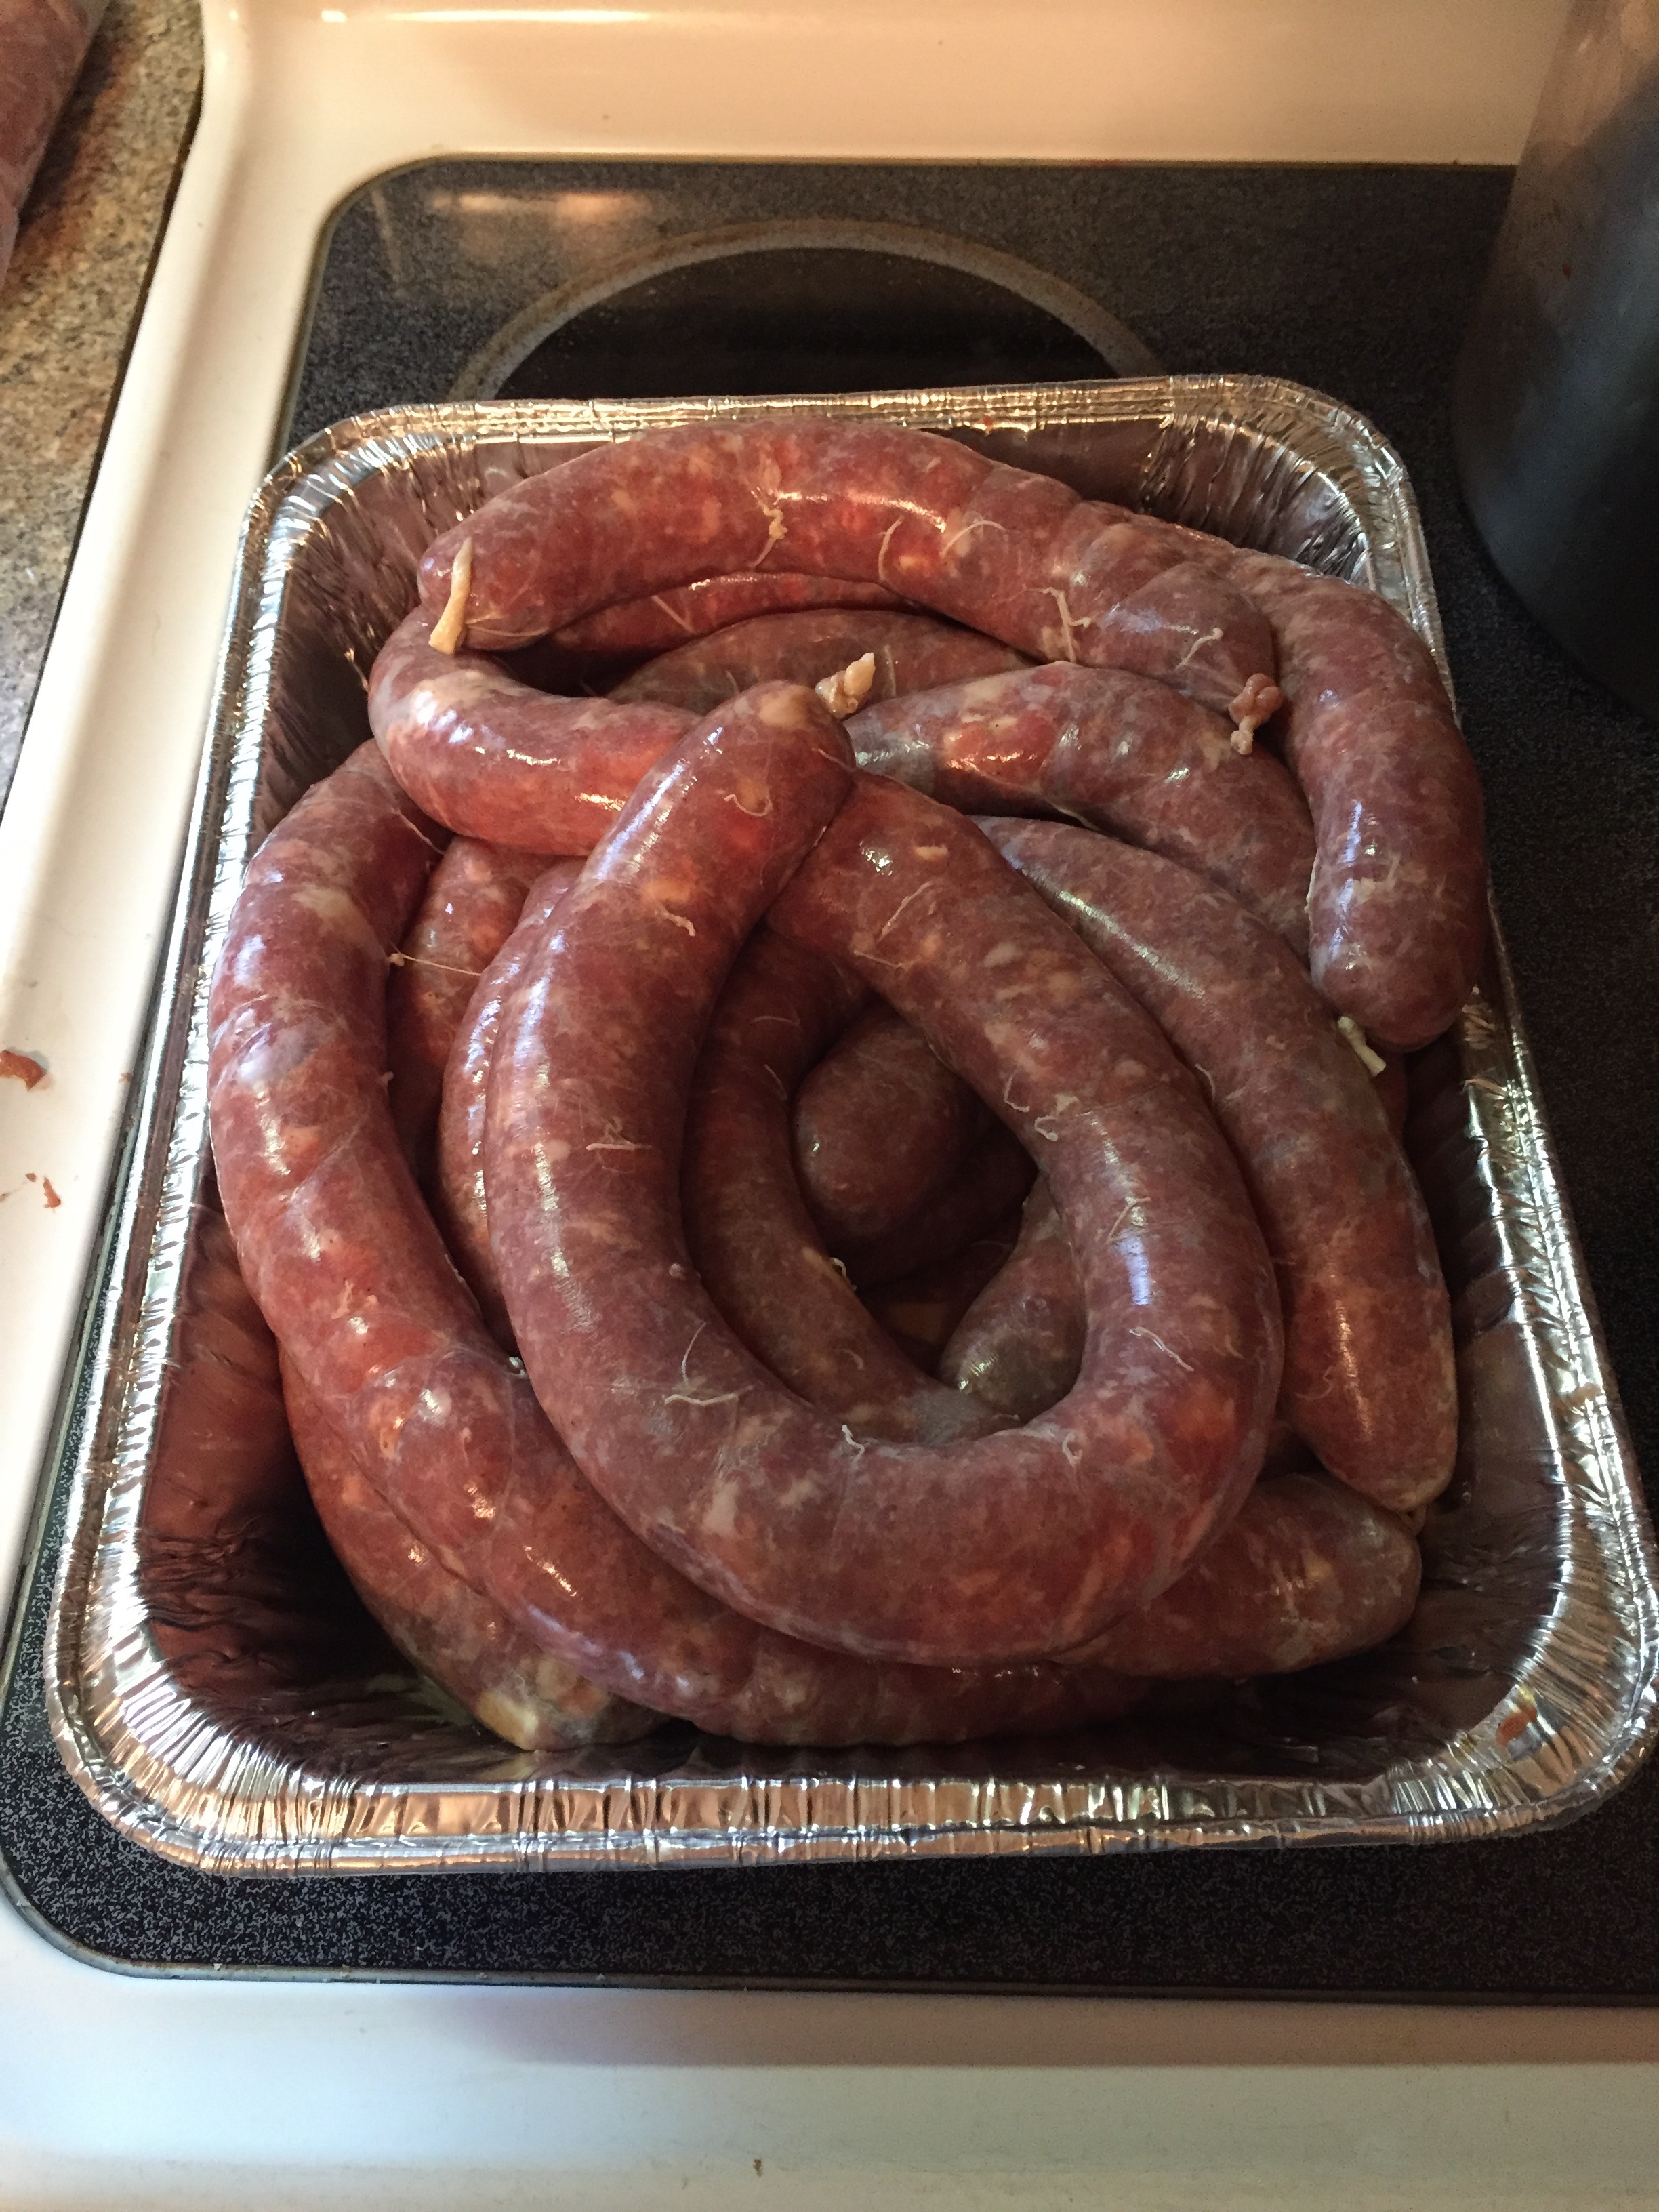
Step 6: Stuff Meat into Casings
Rinse casings with cool water. Attach 10mm stuffer tube (ok to use larger size) to sausage stuffer, and fill stuffer with meat. Fit casing over stuffer tube, and knot one end. Fill casings with meat until expanded, being careful not to rupture the casing. Once the brat is to the desired length, cut casing and knot the end. Repeat until all meat is used.
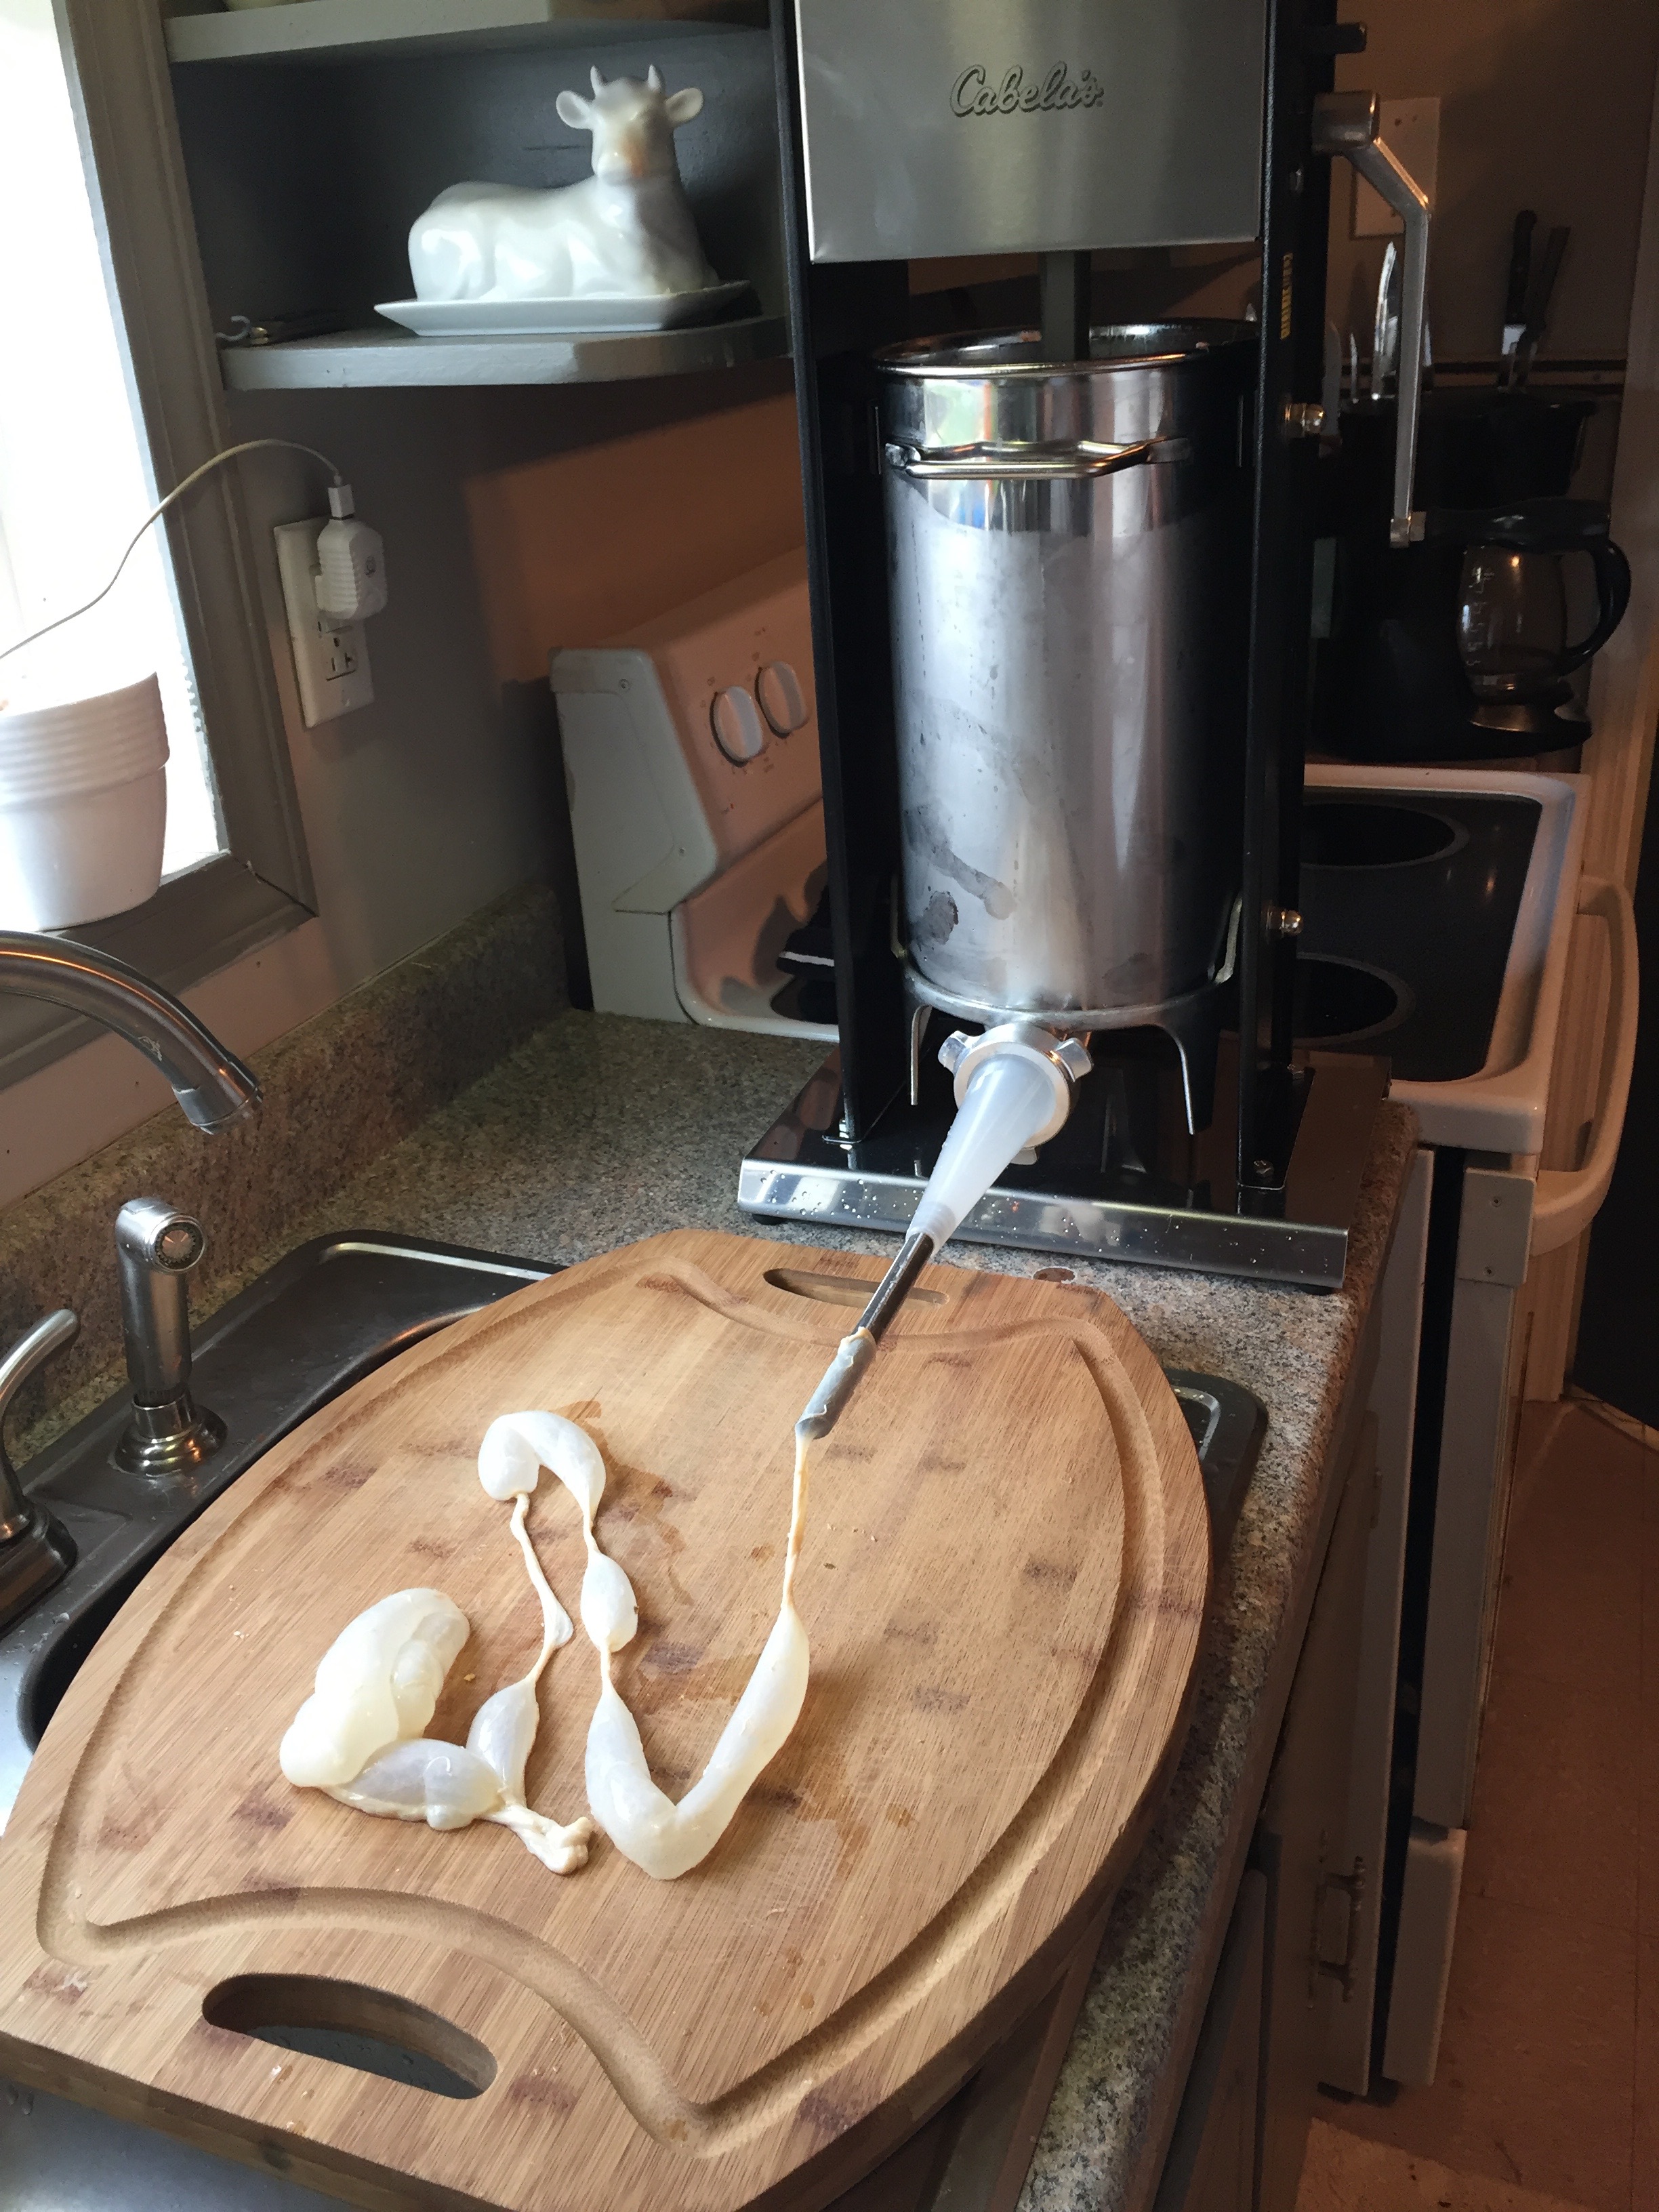
Tips!
· Using a standalone sausage stuffer makes the cheese stay in larger chunks. We used the Cabela’s Commercial Grade Stuffer, 11 lb. model. You can use the electric grinder without the blade in place to also stuff the casings, but it regrinds the meat, causing the cheese to break up.
· The small stuffer tube size is easier to fit the casings over without tearing them, but you can use larger size tubes.
· Brat length depends on preference. You can tie them at standard brat length, approximately 6”, but you will use more casings. We make ours approximately 18” and cook whole, then cut into thirds after cooking.
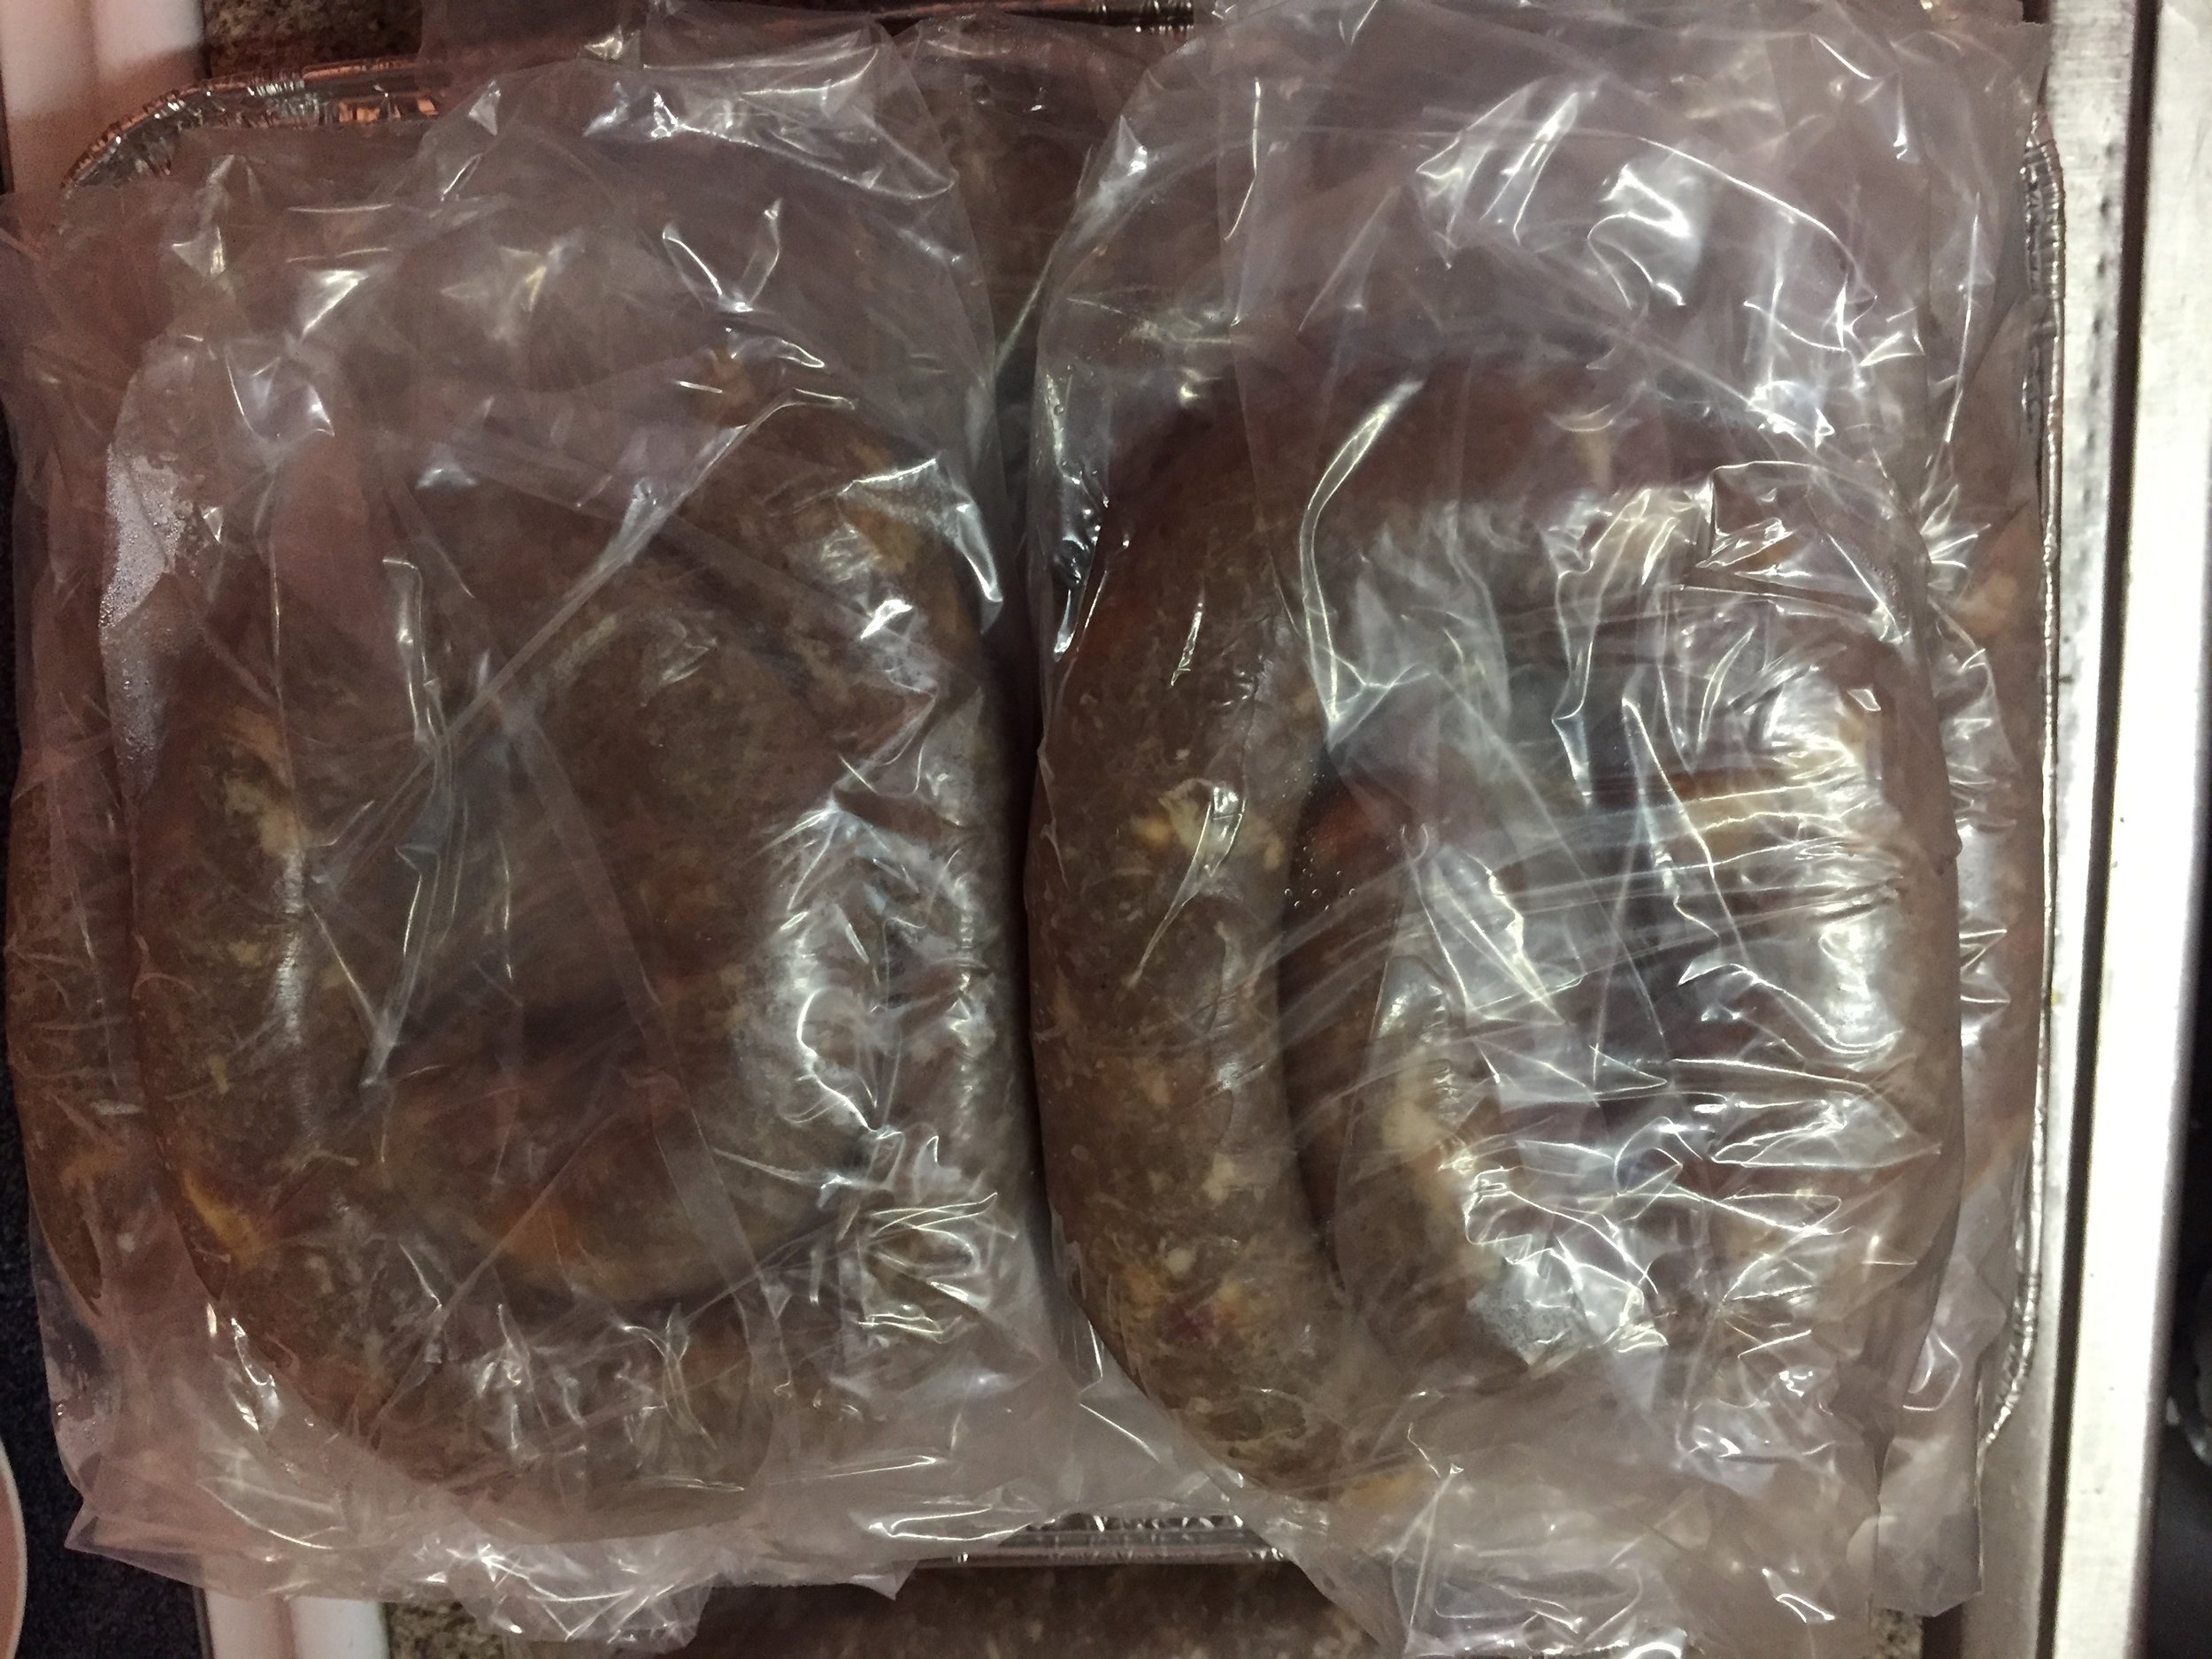
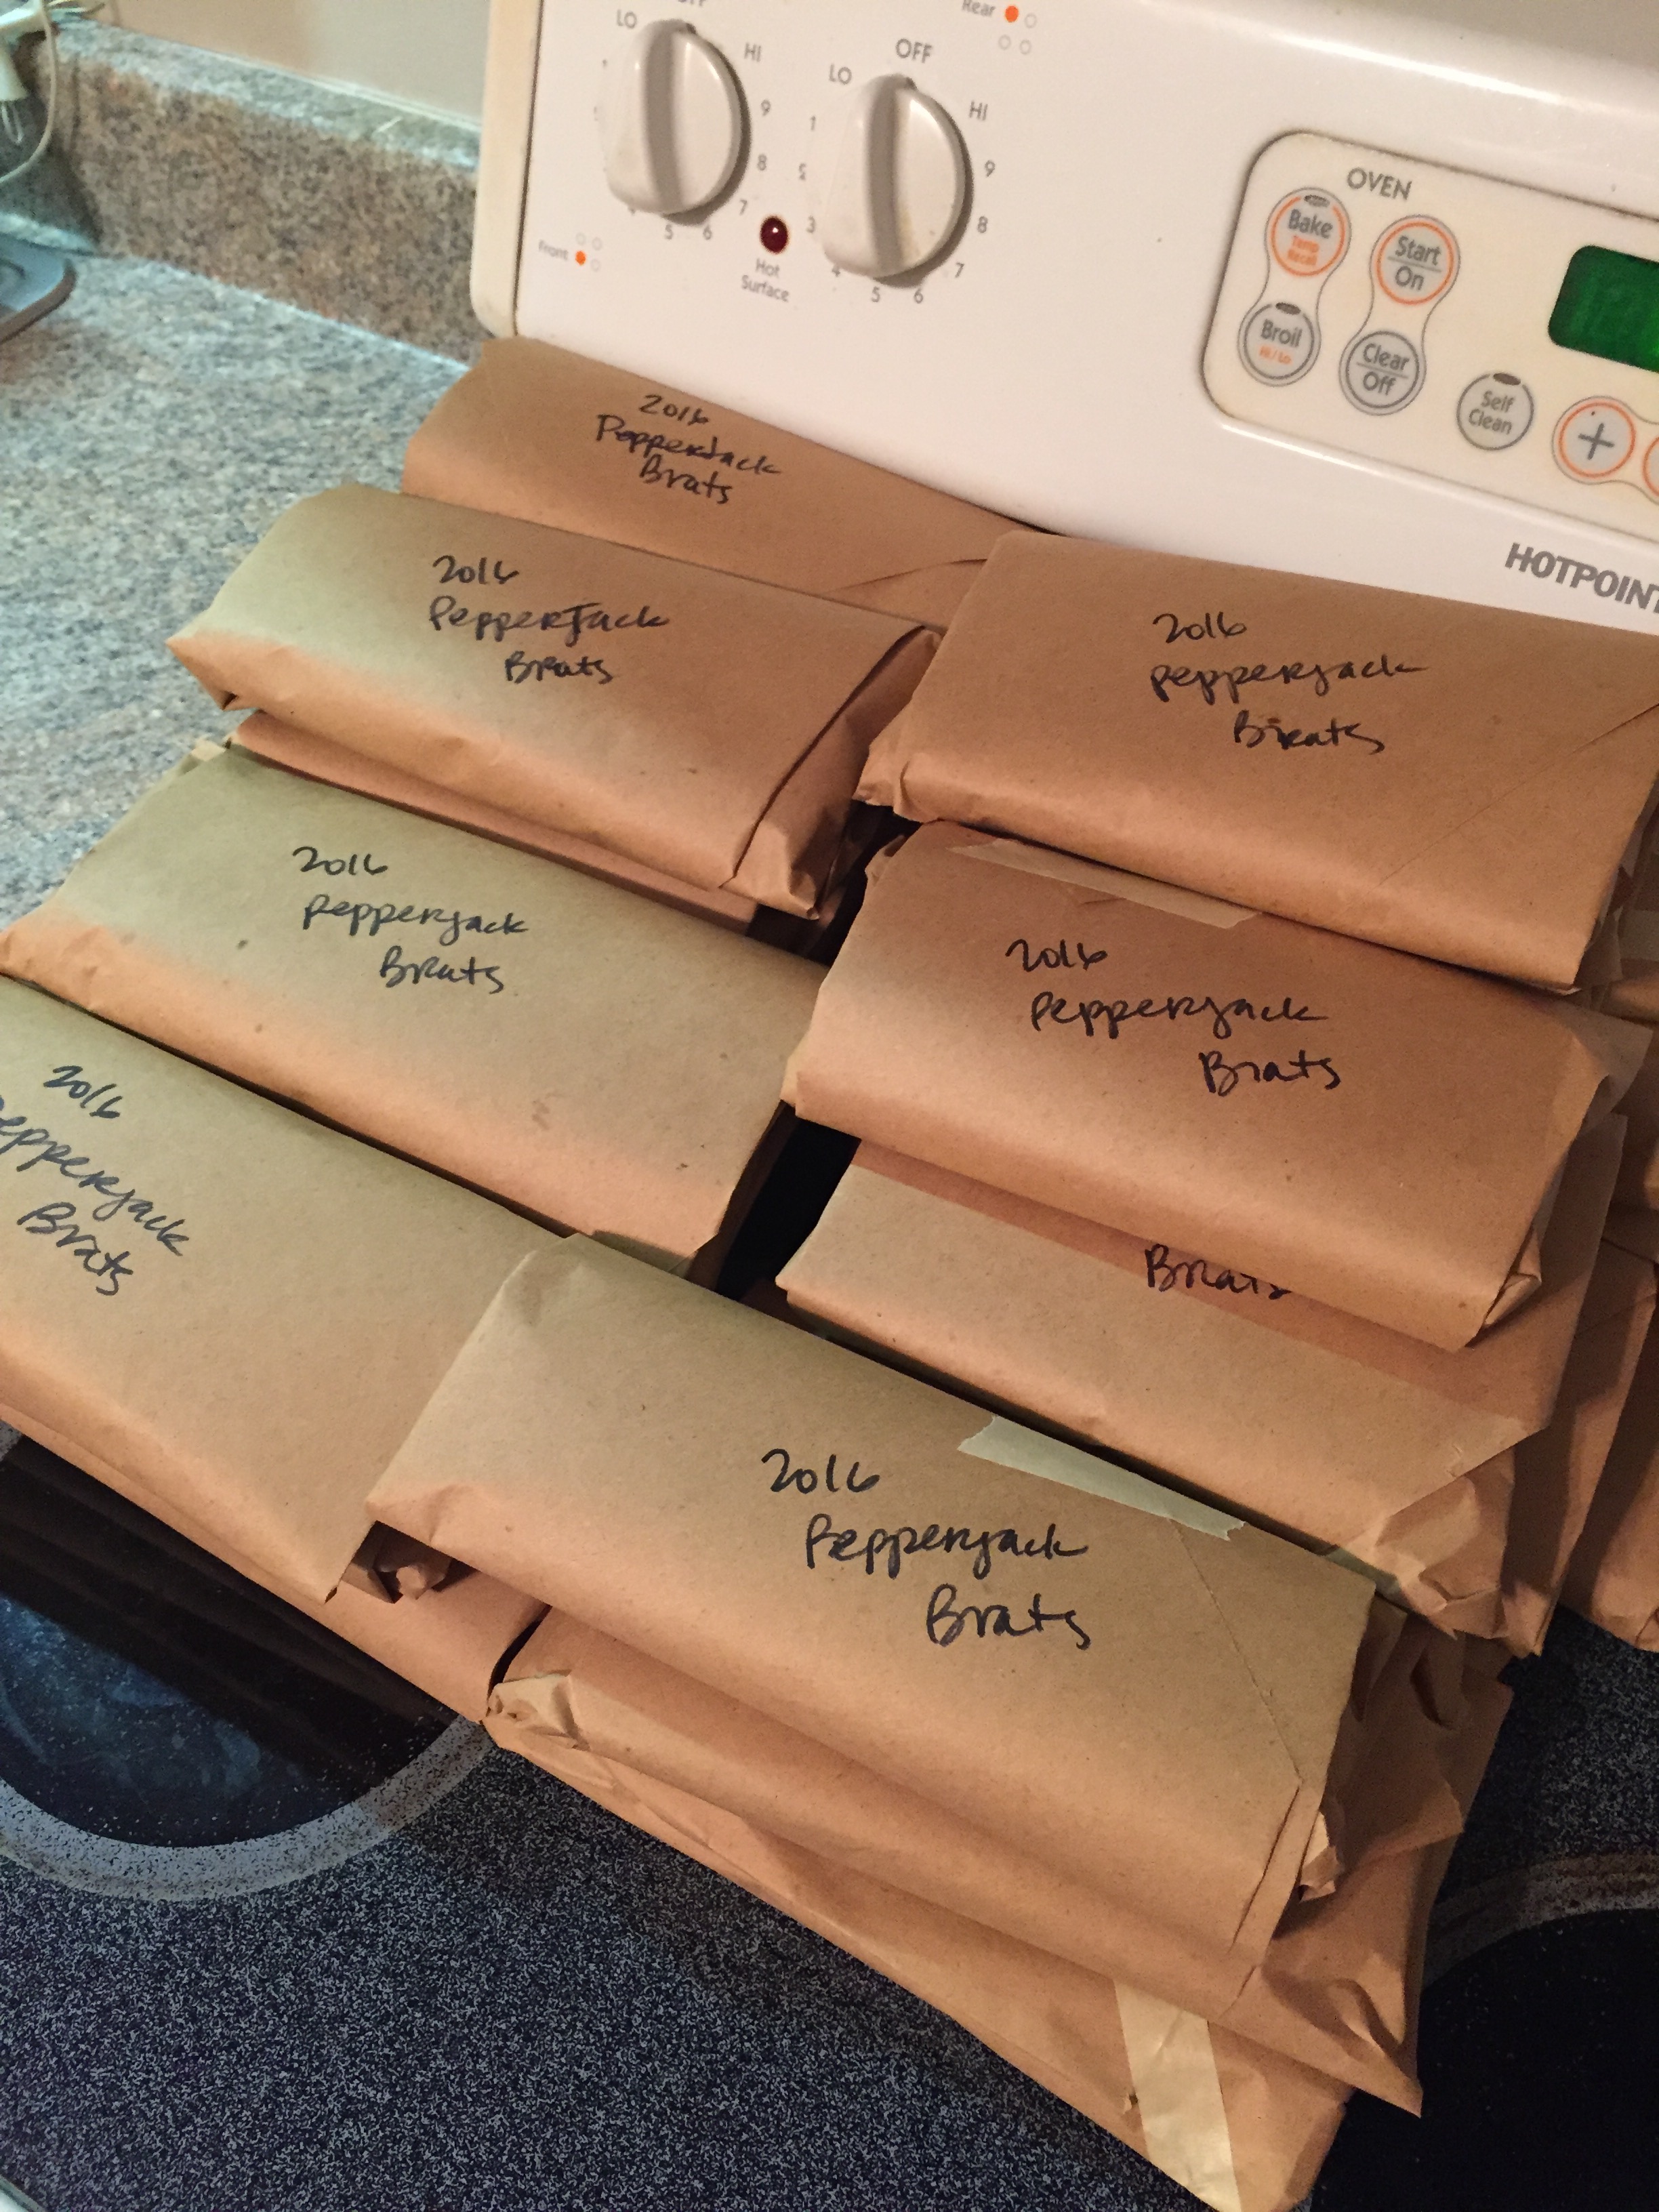
Step 7: Package and Freeze
Place brats individually in freezer bag and wrap with freezer paper. Label and freeze. Recommended meat storage is up to 1 year in the freezer to maintain flavor.
And the best part: Cooking and Eating!
Spray grill grates with non-stick cooking spray. Grill brats over direct heat on charcoal or gas grill for approximately 5 minutes per side, flipping only once using tongs to prevent puncturing. Enjoy alone, or on a bun with your favorite toppings.
ABOUT THE AUTHOR:
Sarah Honadel
ReelCamo Girl Brand Champion
CONNECT WITH HER ON FACEBOOK AND INSTAGRAM!
Facebook: Sarah Honadel
Instagram: @waddysarah
ABOUT US:
ReelCamo Girl is a lifestyle brand focused on ladies who love the outdoors.There is a growing need for a place for women to share their outdoor experiences, as well as an interest in clean eating and self-sufficiency. Through our website and social media networks, we offer a safe place where the ladies can share their pictures, stories, wild game and fish recipes, and news articles about conservation and hunting perspectives.
ReelCamo girls are strong, capable, kind, compassionate, nature & country-loving individuals. We encourage responsible and ethical hunting. We care about the land and wildlife management and about long term sustainability. We hunt, fish, dive, shoot and hike…for peace of mind, happiness, pure clean protein & connection to the outdoors. ReelCamoGirls can shoot a gun, draw a bow, track an animal, get CAMOed up, bait a hook, clean a fish and still be feminine.