How To: Process Trout

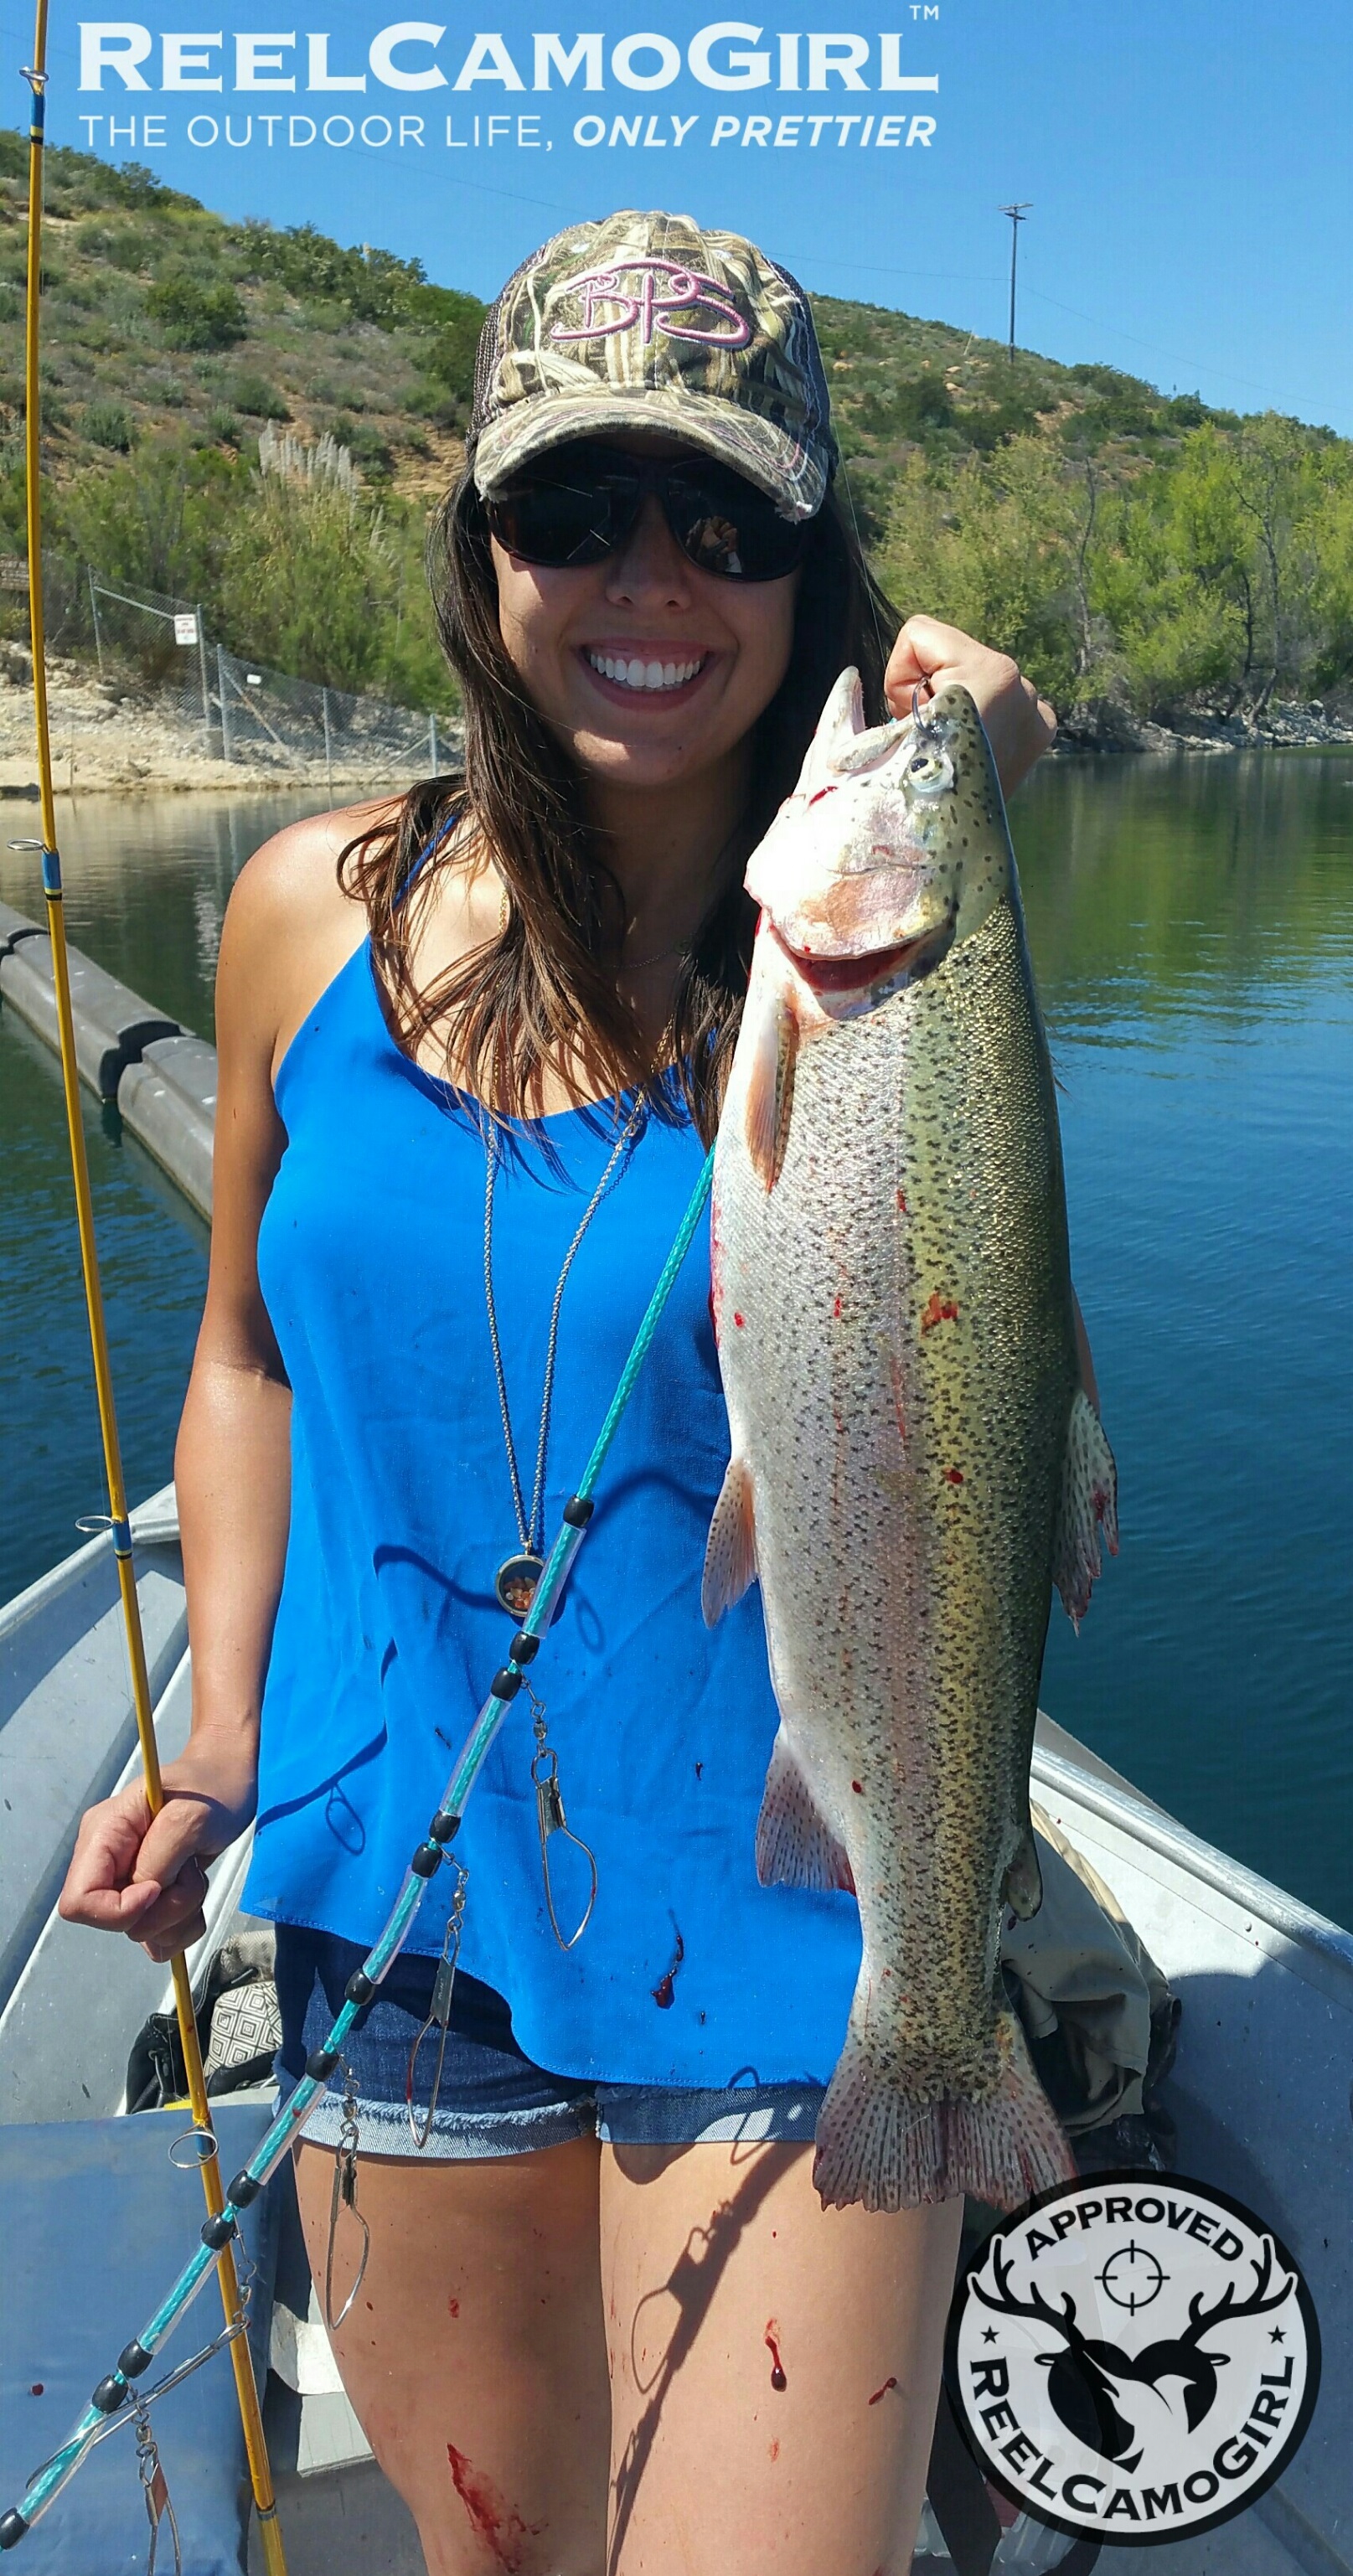
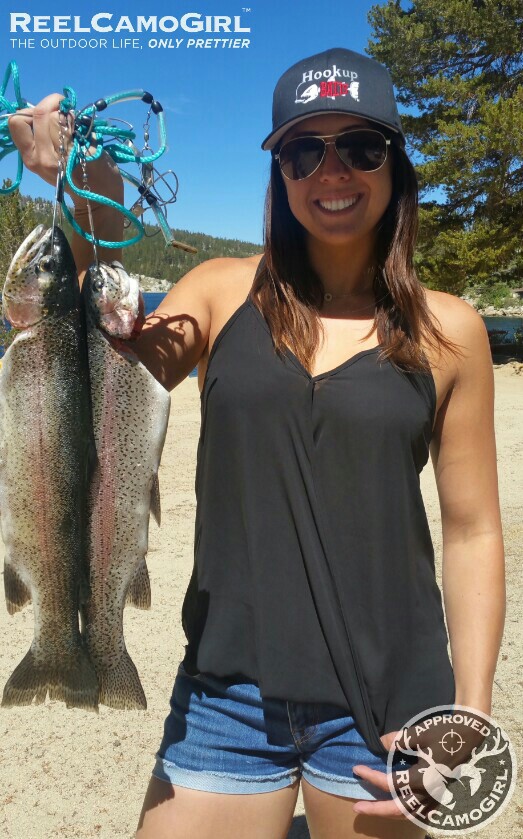
I fish often, and one of my favorites to go after is trout! When fishing for trout, I catch and release 90% of the time (check regulations where you are fishing; some pay lakes do not allow you to catch and release). The fish I decide to eat are typically larger stocked trout - rainbows, sierra bows, etc. If I catch a brown, a brookie, a golden, small rainbow, etc., I take great care in making sure the fish is revived and returned to the stream or lake safely.
There are some important, yet easy, steps to follow when you plan to turn a trout into a delicious meal. While processing your own fish or game may not be the prettiest process, the steps are crucial to getting the tastiest meals you can!
Below you will find the methods I use to process my trout:
Step 1: Catch a trout
Whether you use power bait, night crawlers, spoons, or jigs, the first step is to catch a trout. Once you have that down, you need to decide if you are keeping the fish or not. You'll want to check your state regulations along with any rules for particular body of water you are fishing to find out if there are any size limitations.
If you are not going to eat the fish, then the best thing to do is to release it. There are a few important things to remember when releasing trout:
- Keep the fish in the water as much as possible; do not lift them out unless you have a firm grip; dropping the fish will most likely injure them.
- If using a net, try to purchase one with a rubberized mesh; I find the nylon or cloth mesh tends to pull the slime off of the fish more so.
- Carefully pull the hook out of the fish with pliers. If they are belly hooked, gill hooked, or bleeding, be prepared to take them home for dinner (you are responsible for the fish's well-being; never release a fish that is dead or dying).
- Hold the fish in the water firmly with your fingers locked around the tail like this 👌 and move them forward and backward through the water, allowing water to move through their gills while they perk up.
- Keep moving the fish in the water until they are strong enough to get out of your tight tail hold. If they are strong enough to get out of your grip, they are strong enough to be released.

If you want a photo op with the fish, do it now. Be sure to quickly take a photo as to not cause more unnecessary stress to the fish!
Step 2: String it up
If you catch a trout and you've decided to keep it for dinner or it's injured (either way, still dinner!), then you will want to place your catch on a stringer. Many people place the stringer or snaps through the mouth and out the gill plate or in the mouth and through the soft skin in the bottom jaw; they will keep them alive until they finish fishing for the day, only then bleeding and putting the fish on ice.
That is one way you can do it. However, I have found that placing a stringer or snap through the mouth and out the gill plate can sometimes kill a fish, which defeats your purpose. I've also found that placing the snap or stringer through the bottom jaw will occasionally lose you a fish, as some fish will tear their own jaws to get away; after losing some big fish this way and experiencing the disappointment and frustration, I now choose a different method. Plus, I personally don't like fish swimming around on a heavy metal line, thrashing about throughout the day.
You can choose to either use a blunt object to stun the fish by hitting the top of its head in line with the eyes, or you can press a sharp pointy knife into the same spot; doing so correctly will either stun or kill the fish. I have found over time that with a slimy, wet fish in your hands, both of these methods leave you with the chance of injuring yourself, so I choose instead to quickly put the fish on a stringer snap and then bleed them in one go.
A quick way to secure the fish if you are going to bleed it immediately is by piercing the eyes with the snap. While I know some people may not like the thought of this securing method, it allows your meal to be firmly secured and also makes the fish easier for handling and carrying later on. If you choose this way, immediately move to step three.
Step 3: Pull the gills
Immediately after securing my fish on the stringer snap, I pull the gills. By doing this, the fish bleeds out, which is an important step in obtaining good quality meat. If you don't know what this means, then under the gill plate, there are a few rows of red gills you should be able to see; you loop your finger under and around these gill arches (there will be space, almost like you are grabbing onto a few pieces of rope) and pull to detach them. I place the stringer over the edge of the boat and secure it somewhere on the boat, or if on shore, I place the fish on stringer into the water, trying to make sure it does not rest on a muddy bottom. If the water if exceptionally cold, I will then leave my fish for a while until ready to bring in and gut; if the water is not very cold, I will only wait a few minutes before pulling the fish out.

Step 4: Gut the fish
A few minutes after bleeding, I typically gut the fish and then put it on ice. This process is fairly simple, but it is messy. If you aren't someone who can get your hands dirty, then you may want someone else to do this part.
Grab your fish by the stringer (if through the eyes this is a great spot to hold the fish with one hand). With your other hand, grab under the fish where the gills meet; this will look like the pointy end of the letter "V". Pull this down and away from the fish so it separates from the lower jaw completely. After detaching the "V", place your thumb inside the fish over that "V", and grab the belly with rest of your hand. You are now going to roll your thumb downwards, effectively pulling the gills and guts out. This is much more of a rolling movement, out and down with your thumbs, than it is just pulling. If this is done successfully, you should be holding most of the innards; dispose of these properly.

Now comes time to pull out your pocket knife. Cut the belly (through to the cavity) down the length of the fish until you get to the anal vent. You can now remove any remaining organs and scrape the backside of your thumbnail along the dark red strip on the spine. This is a blood line, and you will want this removed the best you can.

Step 5: Put on ice
You will want to preserve your fish the best you can until it's ready to be cooked. I like to bring gallon Ziploc bags or even plastic grocery bags to place the fish in, this way as the ice melts, the fish does not get water-logged. Once you have your fish in a bag, open the cooler and put down a layer of ice, followed by the fish, followed by an additional few inches of ice.
Step 6: Choose your cooking method and process accordingly
Grilled whole
At this point, rinse your fish quickly, and it is now ready to be grilled if you'd like to grill it whole. One of my favorite ways to do this is to put a couple pats of butter, lemon slices, cilantro leaves, jalapeños, and garlic salt inside the fish, place it in a grill basket (sprayed with nonstick spray first) and grill it directly over the fire until the skin is charred. You can then take a fork and pull the skin back and flake off the meat. Be sure to watch for bones when eating trout whole.

Fillets
If you prefer boneless fillets, or boneless and skinless fillets, there is a bit more work involved, but after a few times you should be able to get it down. I definitely feel it's a skill worth honing! Unless I'm camping and eating the fish that night, I typically prefer boneless/skinless fillets as I prefer to turn my large stockers into my famous Smoked Trout Candy. ;-)

Some lakes will have a fish cleaning station, otherwise you can do this at home. If you do this at home, you can minimize the slime and slippage of the fish by using newspaper underneath the fish. Fish is much easier (to me at least) to clean when it's been chilled for some time, which is another bonus to putting it on ice quickly. You will need to start off with a freshly sharpened, quality fillet knife (I'm currently learning how to use my sharpening stone, so I'm no expert; you can find videos and different techniques online). I do recommend Forschner 6" Fillet Knife for cleaning fish.
Lay the fish on its side, and cut down in a curved line about a half inch behind the gill plate from the top to the bottom; follow the gill line and as you get towards the belly, turn and cut down the side of the belly to the tail.

Now spin the fish around so you're still looking at the same side you just made a cut on, except upside down; place your knife in the curved slit you just made and press it down at about 45 degree angle down and towards the tail. Using some decent pressure and holding the fish by the head with your other hand, glide the blade down the fish and away from you. This should be a fairly smooth cut the goes along the spine and slabs of the whole side of meat. Your knife will exit up and out of the fish near the end of the arrows in the diagram, before the tail. You will then do the same to the other side of the fish; be careful, the second side is often more slippery. Dispose of the carcass properly (we feed trout to our giant tegus and monitors or bury the carcasses as we have a lot of land; make sure this is away from houses and buried deep down in a compost pile as to not smell or attract predators).

Take your two sides of trout you just slabbed and carefully cut the rib bones out. These should look fairly similar to rib bones on other animals. You will want to carefully use your fillet knife to cut just under/behind these so you can pull them off with losing as little meat as possible.

Once you have the ribs out, there is a line of pin bones left in each fillet along the top side of the fish; these reside toward the head half of the fish along the back and you can feel them by lightly running your fingers over the fillet. You can either remove these with fish bone tweezers, or make a slice on either side of the pin bones through to the skin and remove the entire section (your fillet will no longer be in one piece if you choose the latter). If you choose to remove the slice containing pins bones, remember the pin bones rarely run vertical; you often will need to slice at an angle to get these (look at the blunt, cut side to see the direction they follow).
Now you have boneless fillets!

Before smoking, I place my fillet pieces into a salt cure, so they hold up well without the skin; I feel the skin gives a fishier taste I don't prefer. If you would also like to skin your fillets, grab the narrow end of the fillet by the very end with your hand. Now take your sharp knife, and starting right in front of your fingers at the narrow end, place your knife along the fillet and at a slight angle, nearly parallel to the table. I find it's easiest to do this by pulling the fillet to the edge of the table so your hand is off the table and the knife can lay almost flat. While holding the knife edge away from yourself, pull the skin towards you with your other hand and hold the knife steady pushing away from you; the knife will slide the meat off the skin.

Now you have your boneless, skinless fillets! Trust me, if you have beautiful fillets the first or even second time you do this, you are extremely talented. It takes a lot of practice to get familiar enough with your knife and the cuts to make pretty fillets. Keep practicing and eating trout, and it gets easier and faster with time.
My Essentials List:
- Stringer (I prefer these Berkley Deluxe Stringers from Walmart and replace them when they get worn out/smelly)
- Pocket knife (you may just want to quickly gut the fish without bringing out your fillet knife)
- Fillet knife (not necessary if you grill the fish whole) - I prefer Forschner 6" Fillet Knife; they also sell a plastic 4"-6" cover that is great for traveling
- Sharpening stone - I use a dual sided stone with different grains on either side
- Gallon Ziploc bags - I use freezer bags if saving to make smoked trout candy
- Cooler/Ice chest
- Ice
Did these trout preparation tips help you? Let me know your thoughts in the comments section below!
About the Author:


My name is Rachel Von Fleck, and I am a fairly tall, happy, goofy angler and hunter living in Southern California. I prefer the outdoors above anything else, and I love to hunt, fish, and farm for my own food.
Connect with me on Facebook, Instagram, or Twitter!
Facebook: Rachel Von Fleck Instagram: @vonfleck Twitter: @rachelvonfleck